Exporting Document Data from Rossum Using Zapier
In this guide, we'll create a Zap, which will run each time document is exported in the Rossum app. By exporting, we mean that a document transitions to "exported" status. Captured data will then be passed to Airtable.
Airtable is an application that lets you store and organize your project data. In our case, the "project" is using their "Order Tracking & Invoicing" template. But remember, you can choose any Zapier integration app instead.
Step 1: Create a new Zap
Again, with an account in Zapier go to Zap editor and create a new Zap. "Export a Document" is a trigger, which means it'll be the first Zap step. Search for the Rossum app and select it.
Step 2: Set up a Trigger
In the "Trigger event" input, we'll select "Document Export".
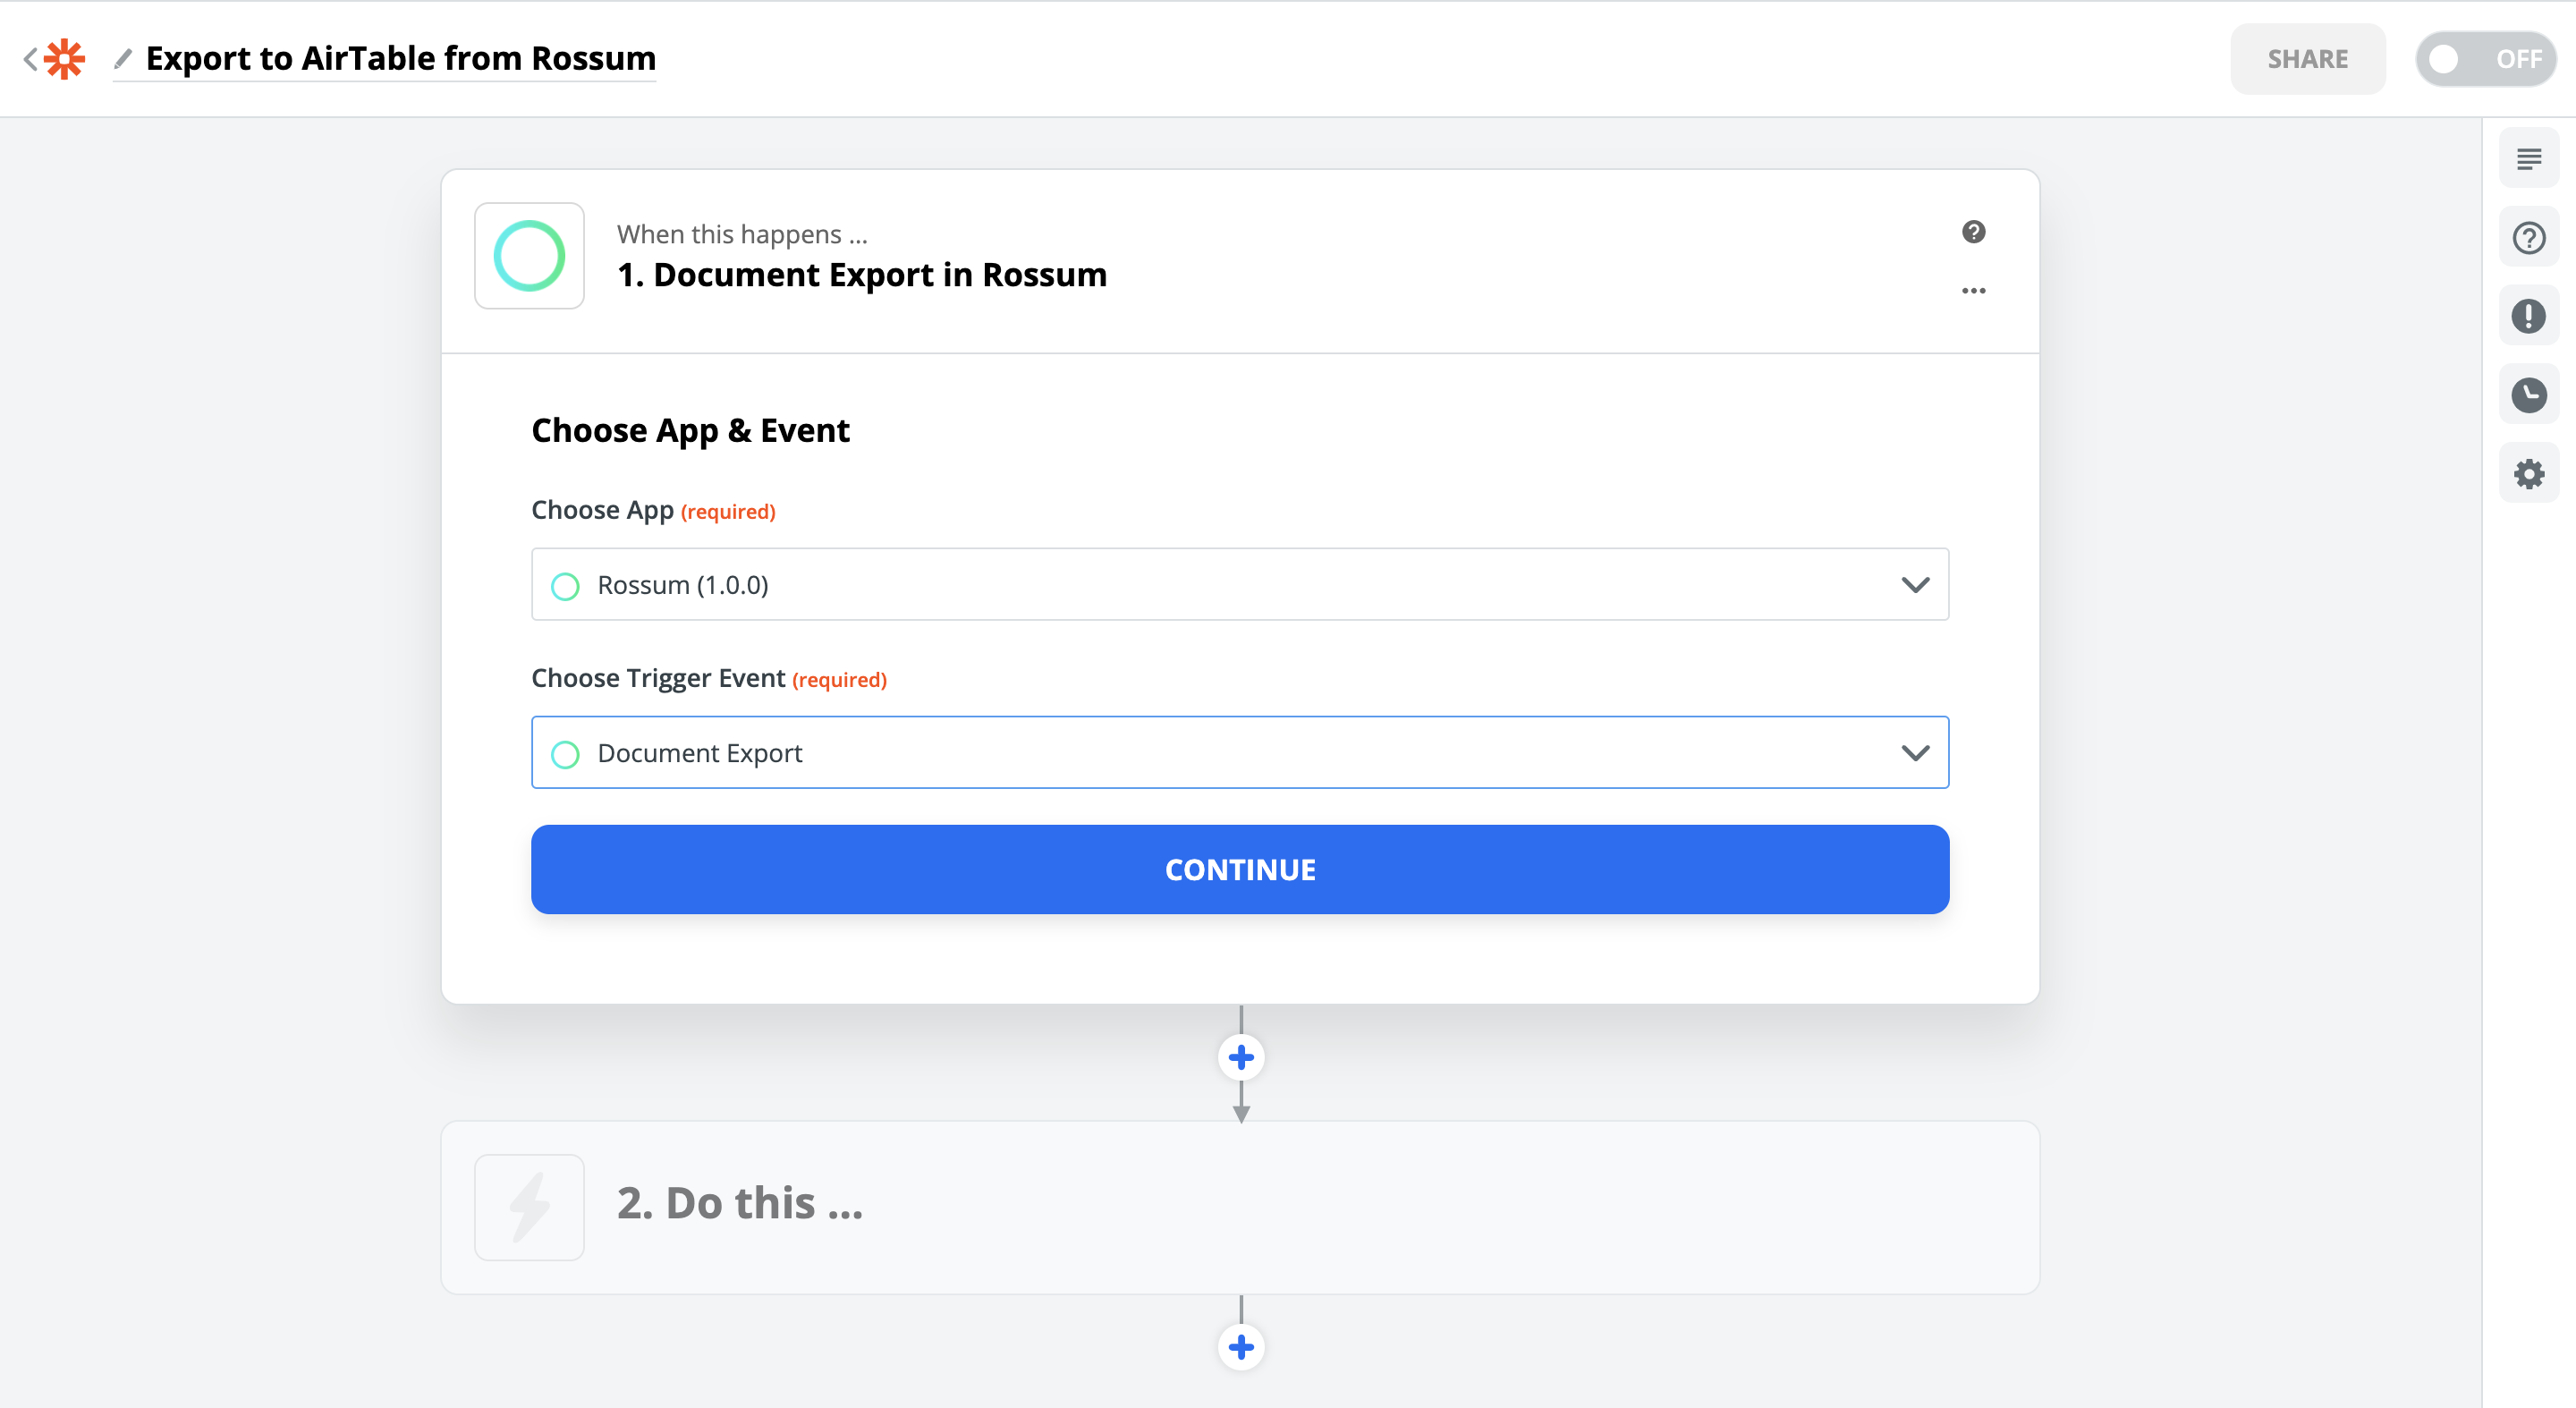
In the following step, we authenticate the Zap by providing Rossum credentials in a pop-up tab.
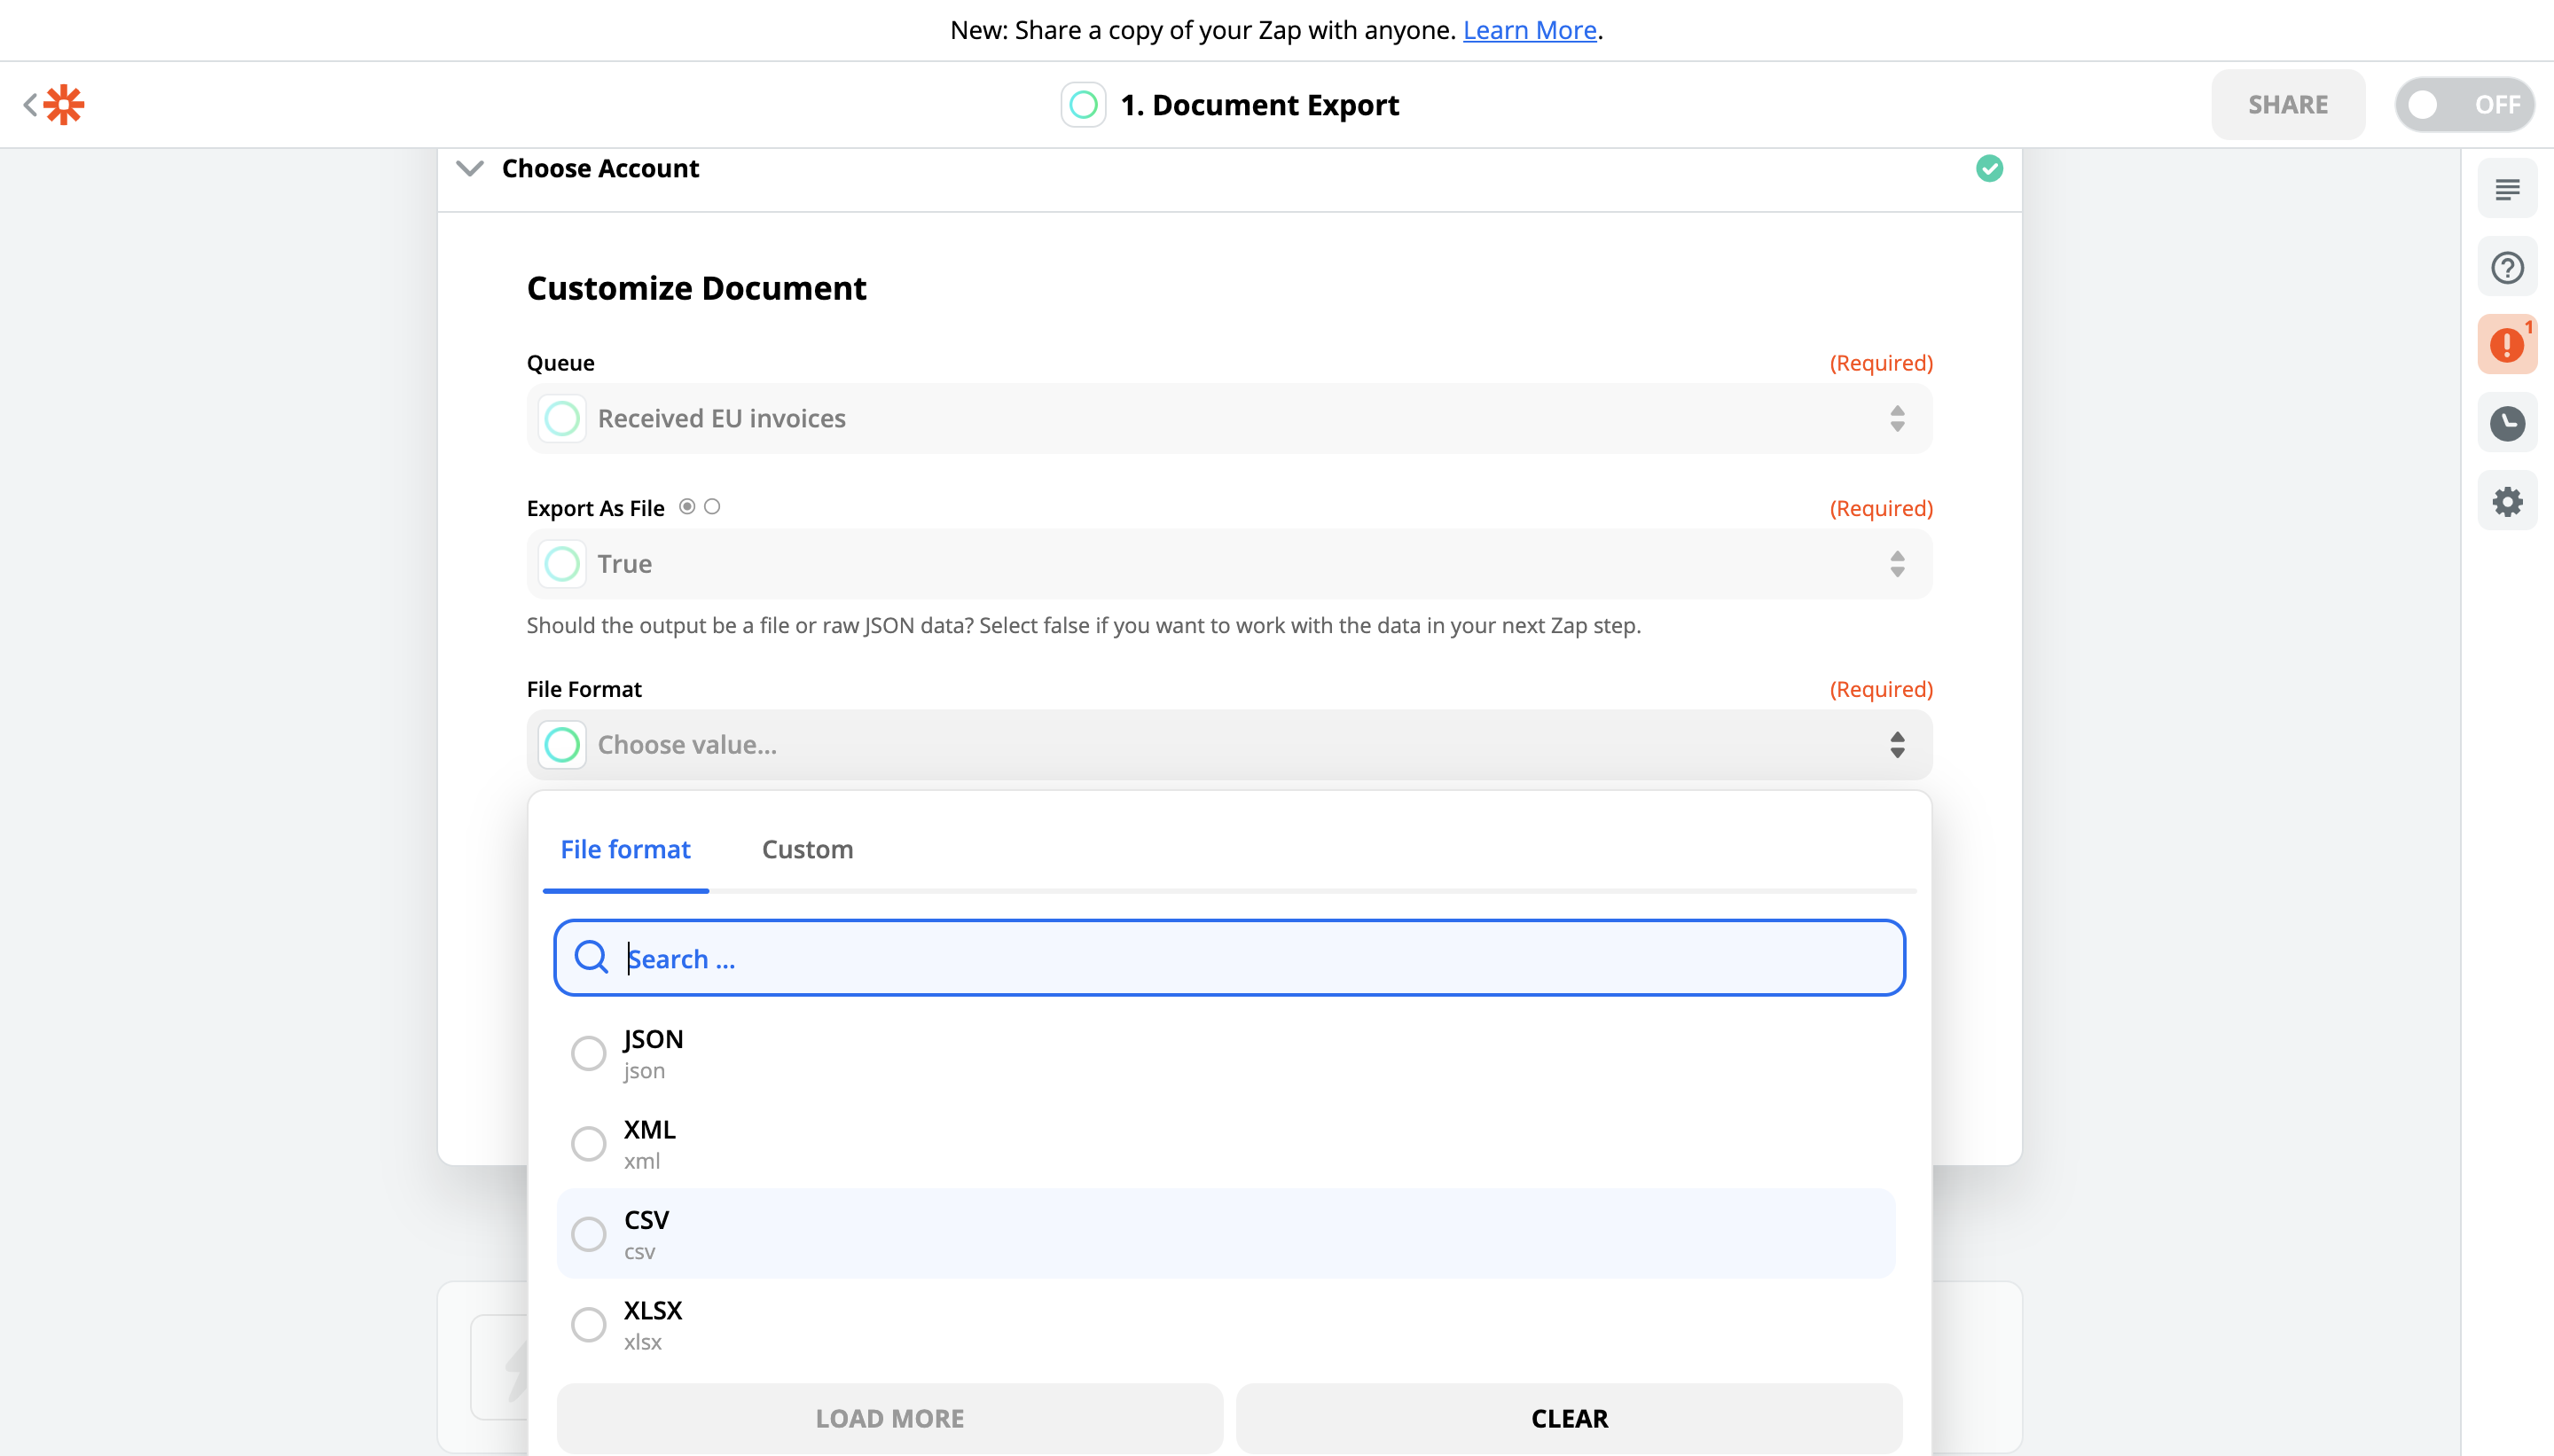
Once we're in the "Customize Document" section, we can choose a Rossum queue, in which we want to register export events.
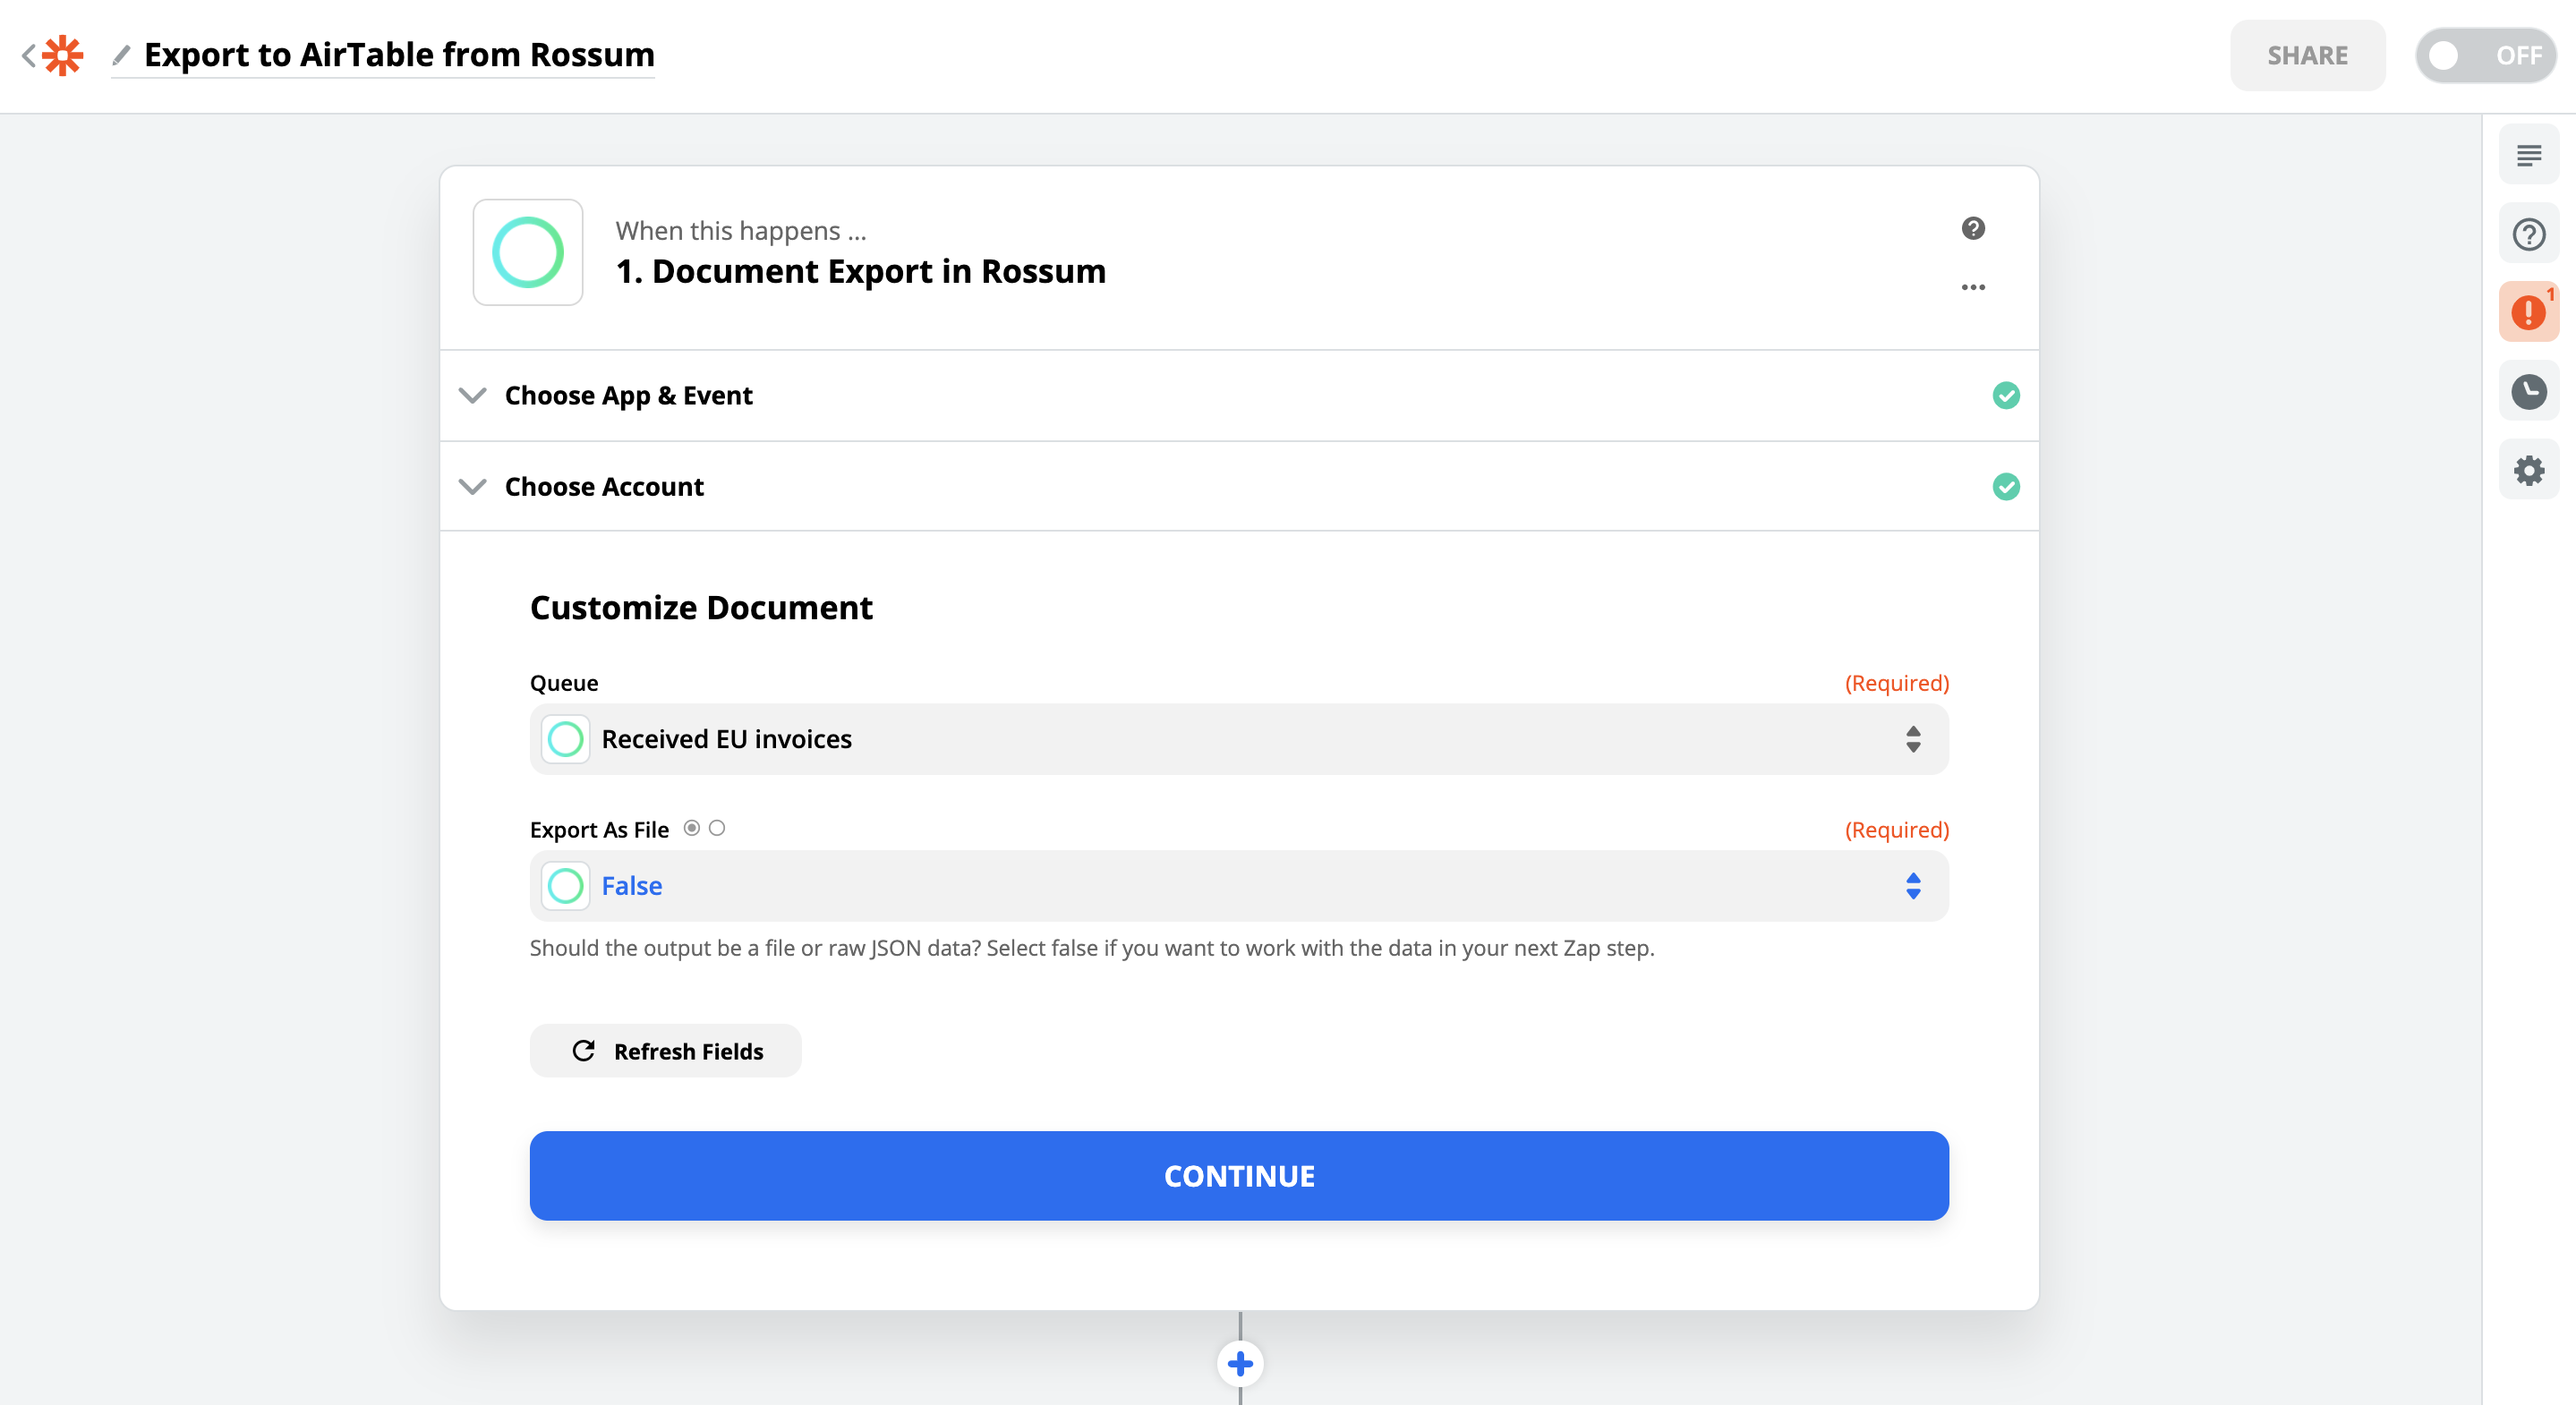
Export As File field is a simple boolean. If set to True, a new field of File Format will appear. Selecting this option will result in this Zap step having a file of a given format as an output. That can be useful when you want to simply store your captured data.
However, since Airtable action can accept individual data fields to create a new record, we'll choose False. That way, we'll be able to reference individual datapoints in the Airtable part of this Zap.
Step 3: Test the Trigger
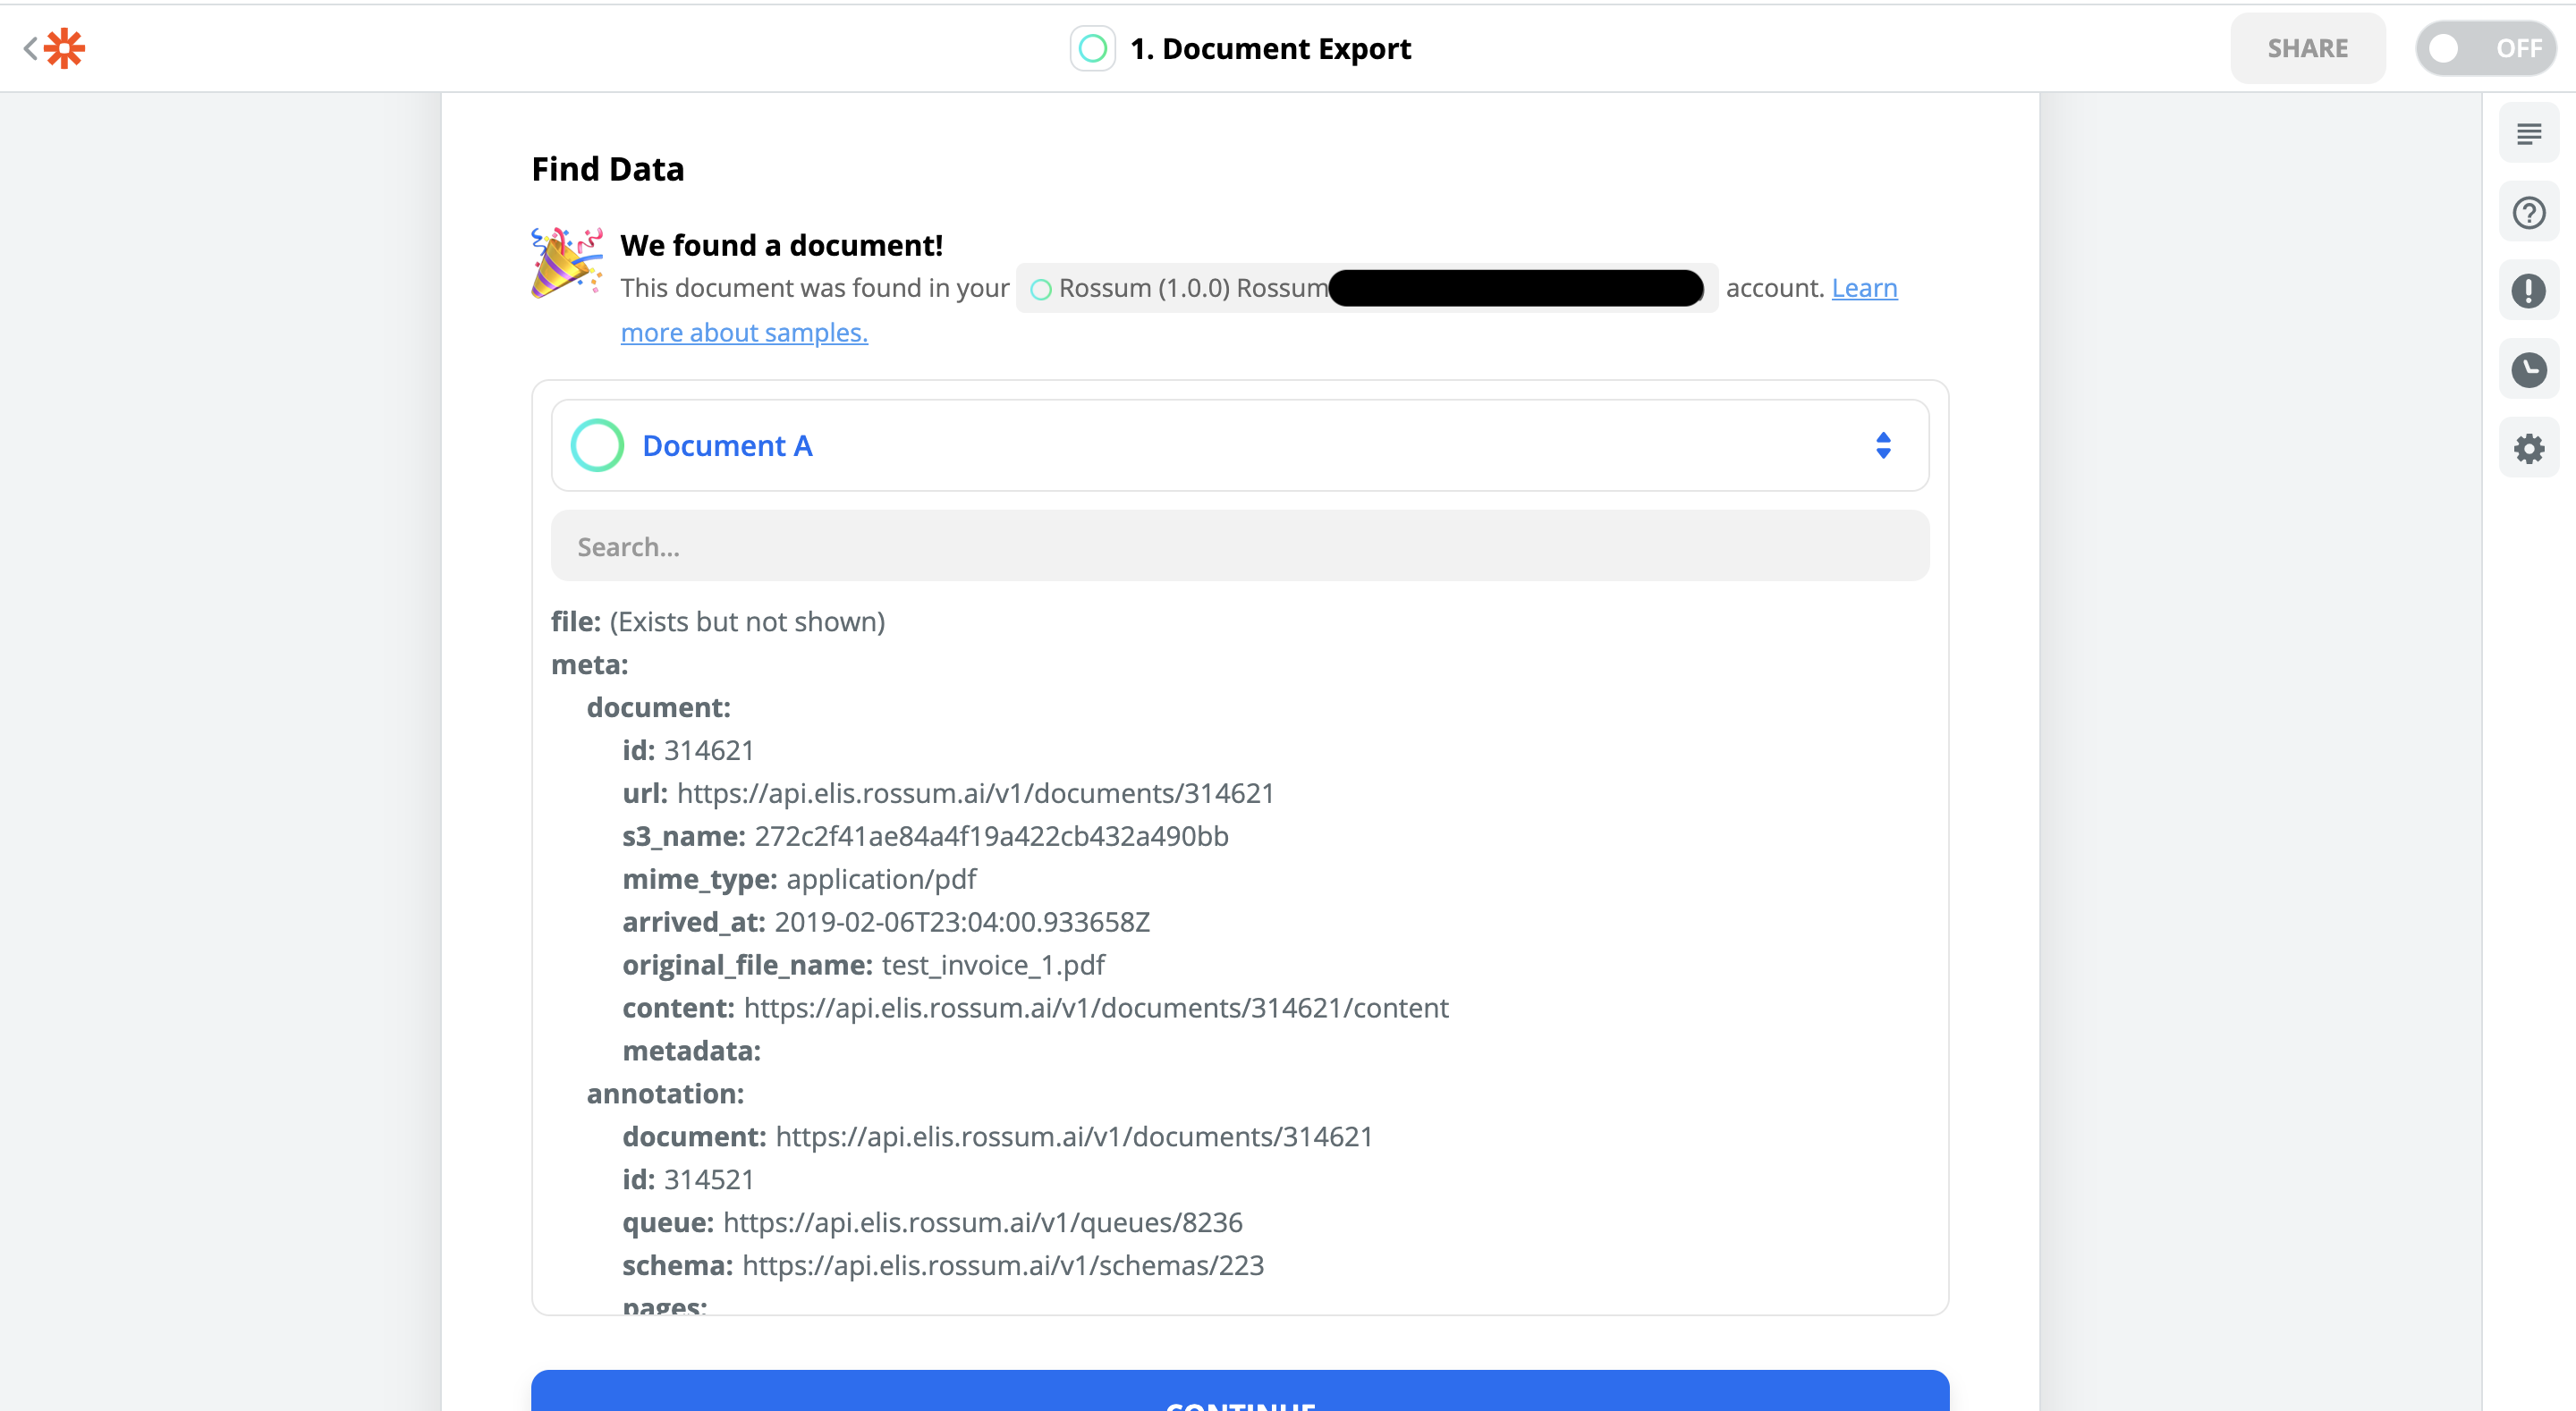
Depending on whether you've chosen to export as a file or not, you'll see different outputs of the test call of this trigger.
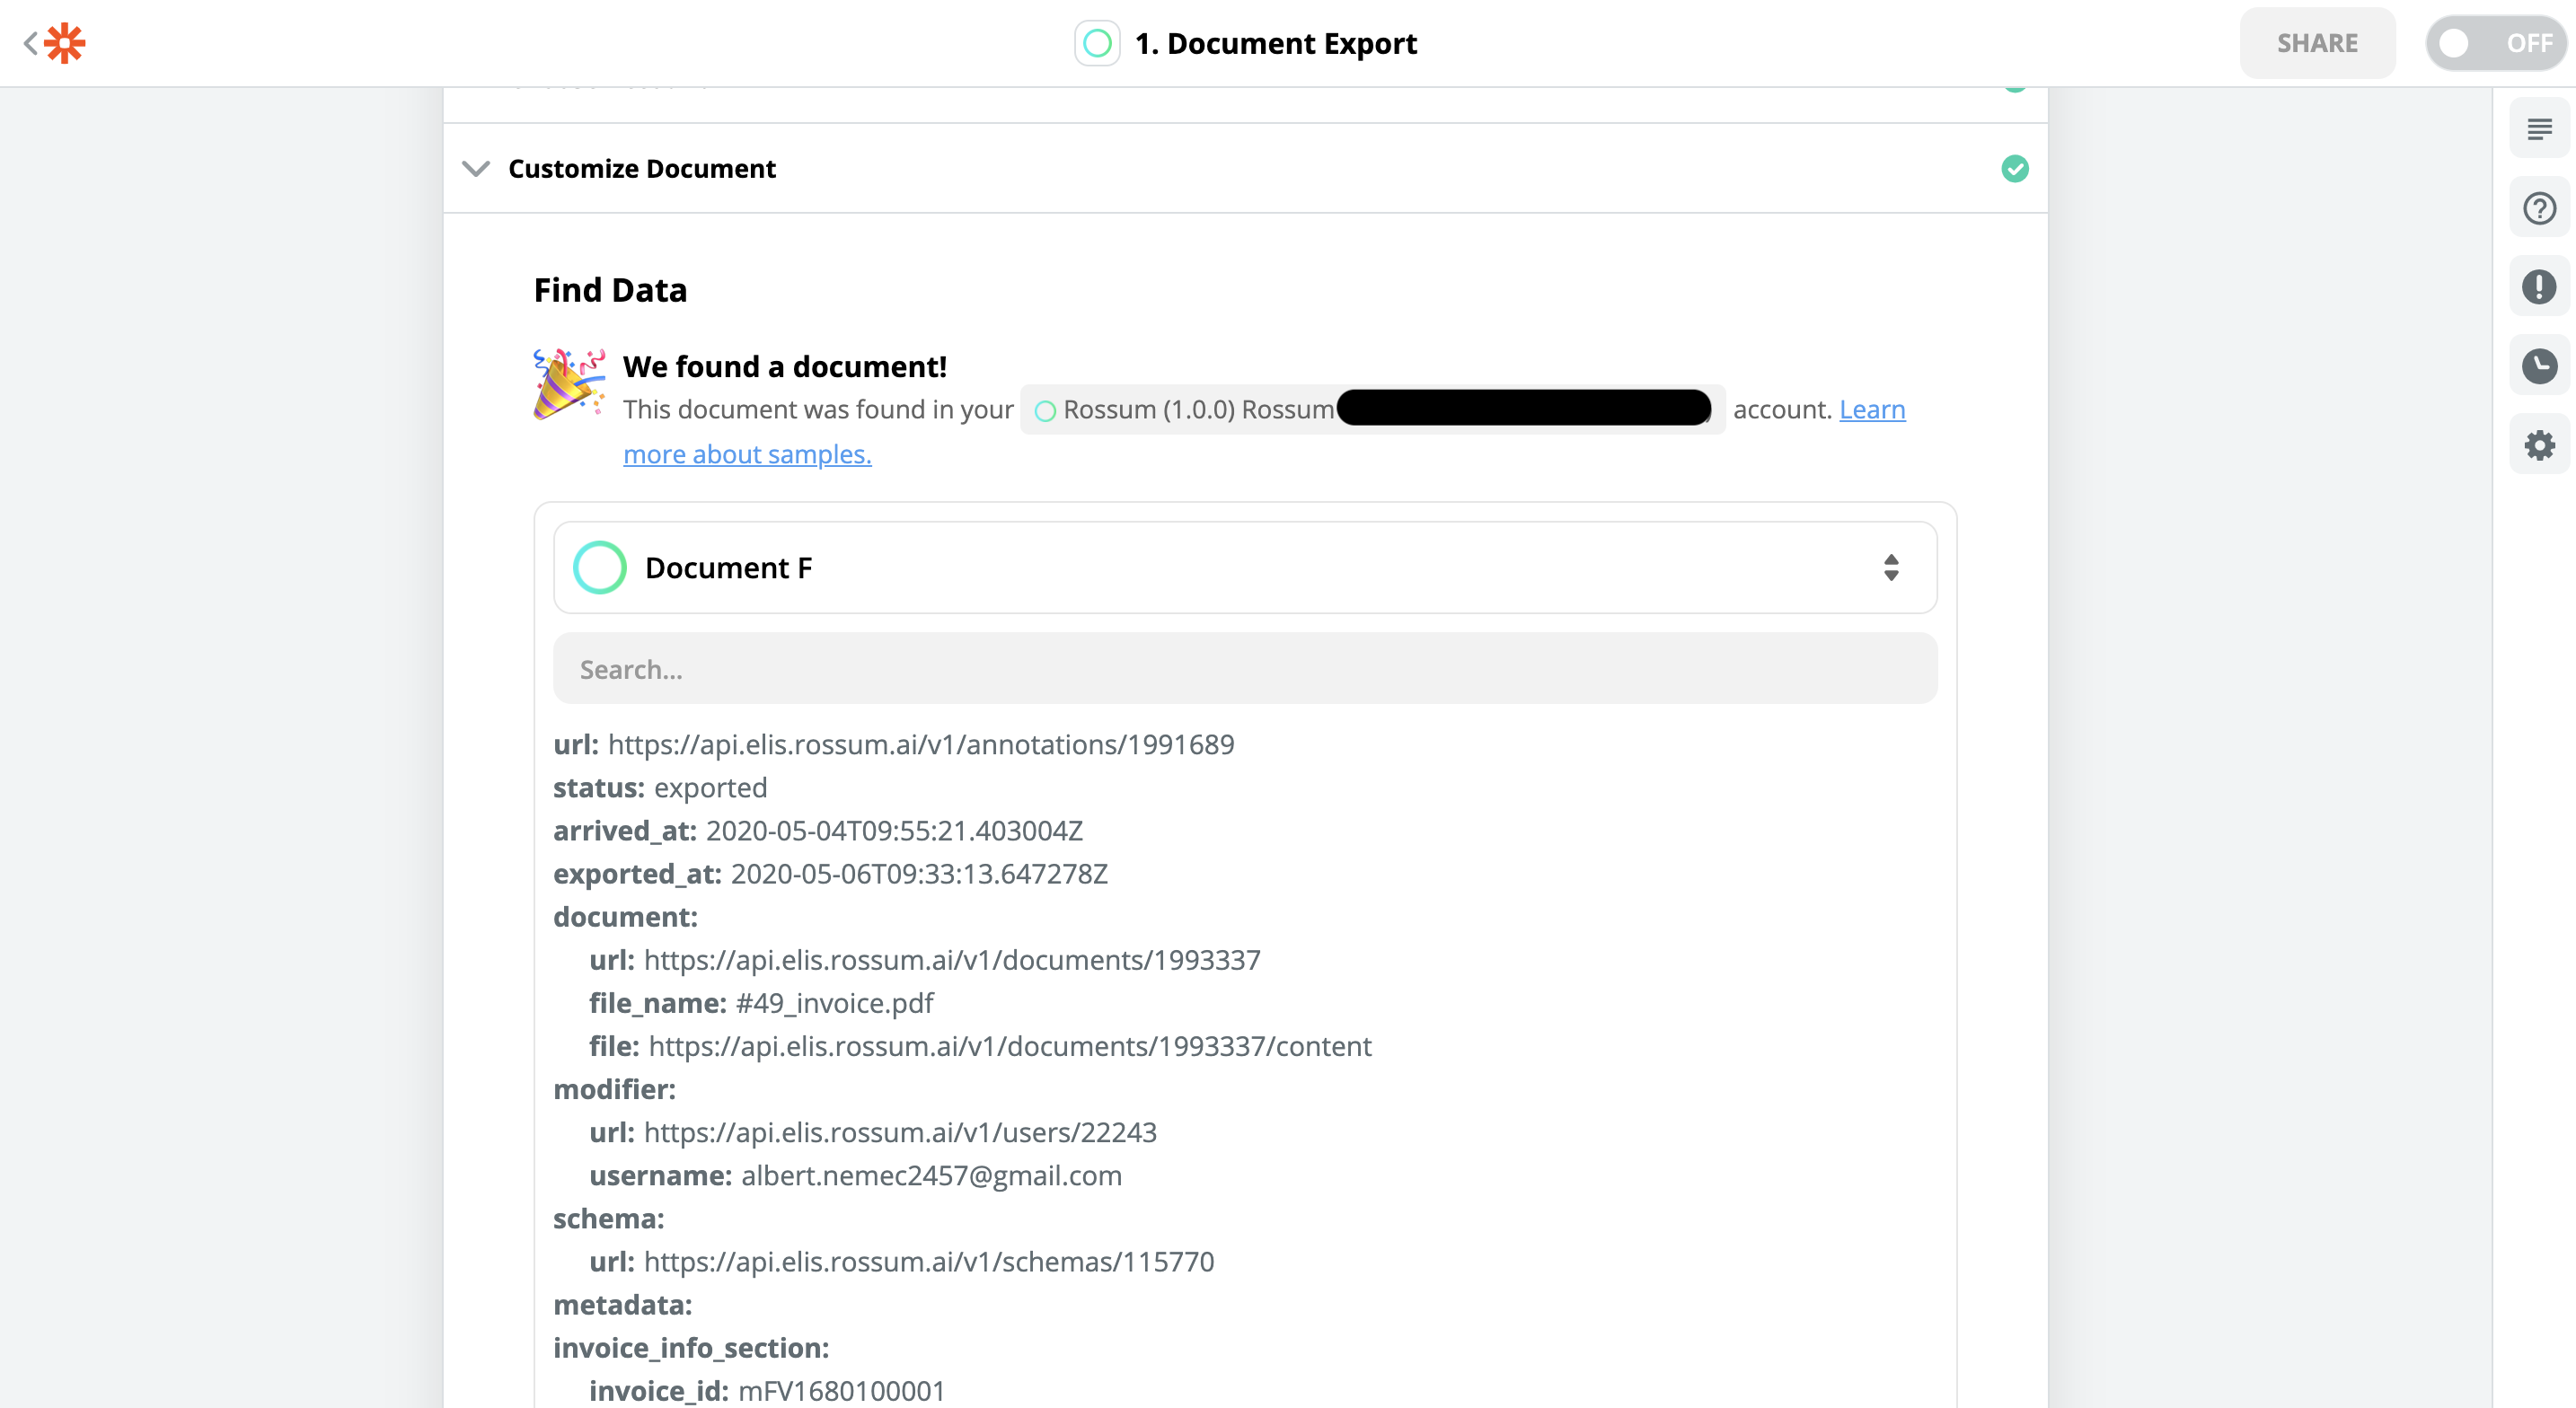
If you're exporting as a file, you'll see something like this. There's a file field yielding "(Exists but not shown)", indicating that there's a raw file data in there. The output also contains some metadata about the annotation you exported. The metadata loosely corresponds to Rossum Webhooks.
Given we set "Export as File" set to False, the output will look like this for us. This shape is basically a result of our export endpoint. You can see individual captured fields and their values. Which is ideal for our use-case.
Step 4: Set up the Airtable "Create a Record" action
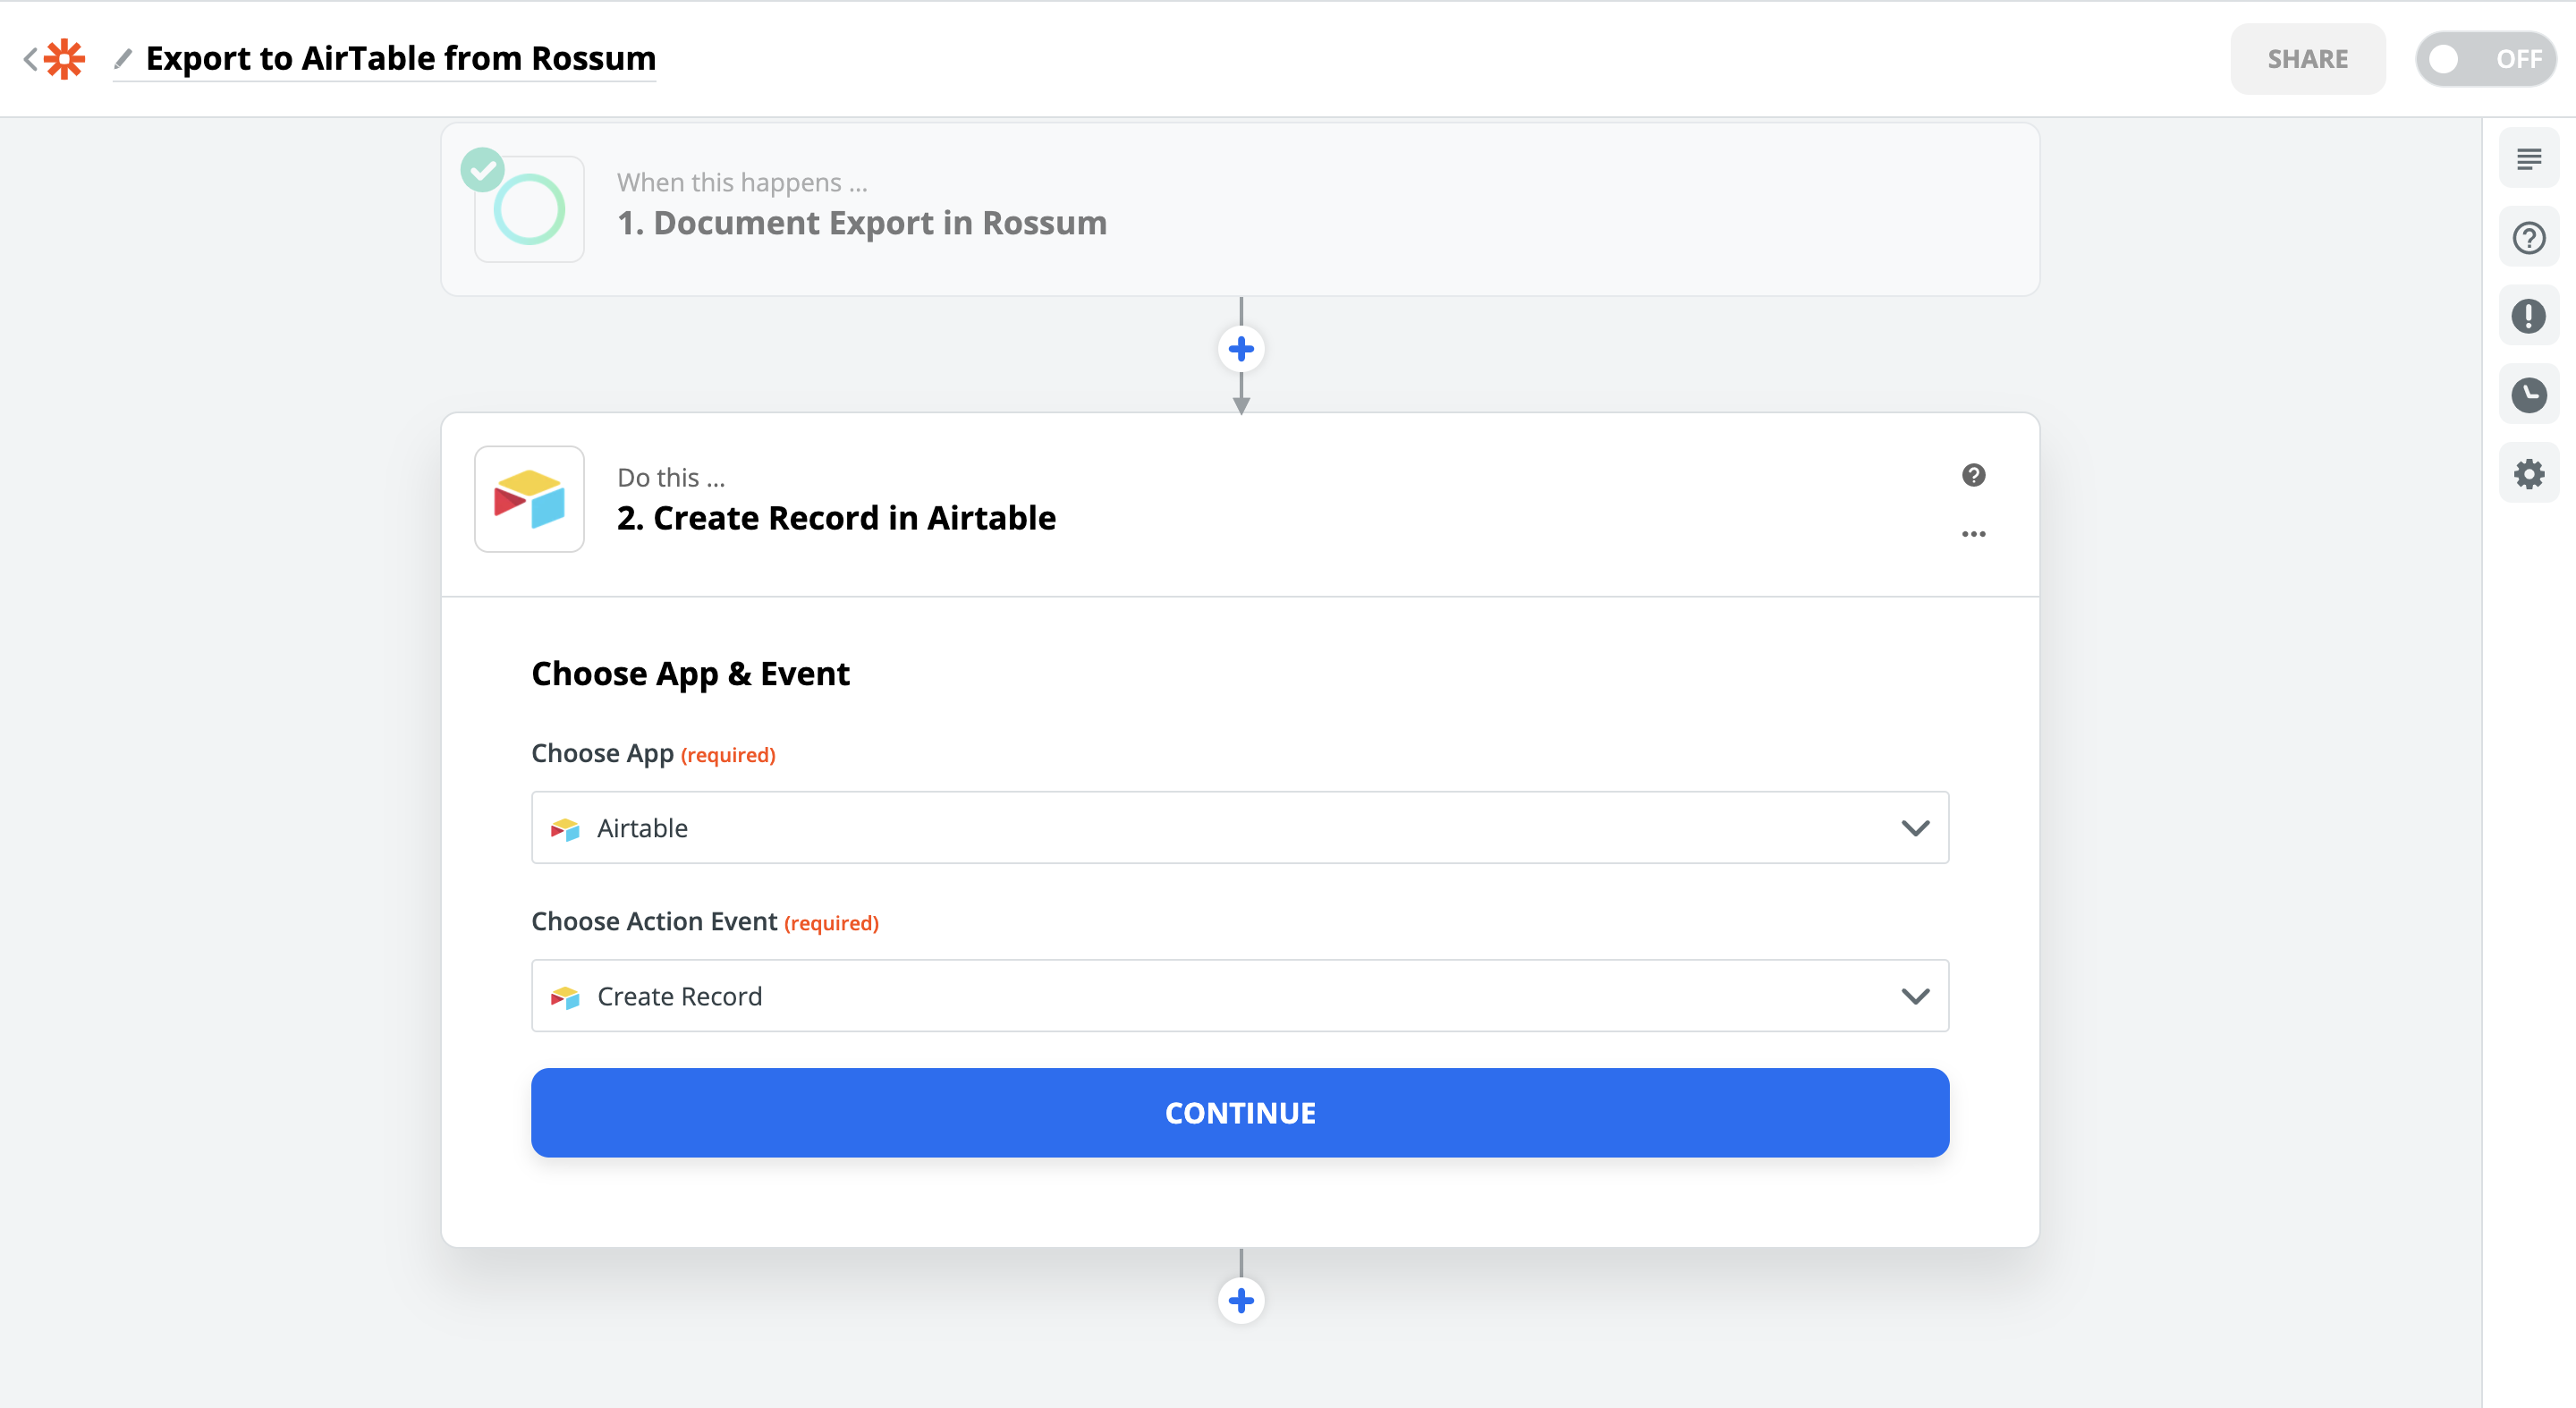
Again, we choose the app and its action. We want to create a record in Airtable. Following up with successful authentication of Airtable. Airtable authentication requires a token, instead of a username and password. This token can be obtained in account settings in Airtable.
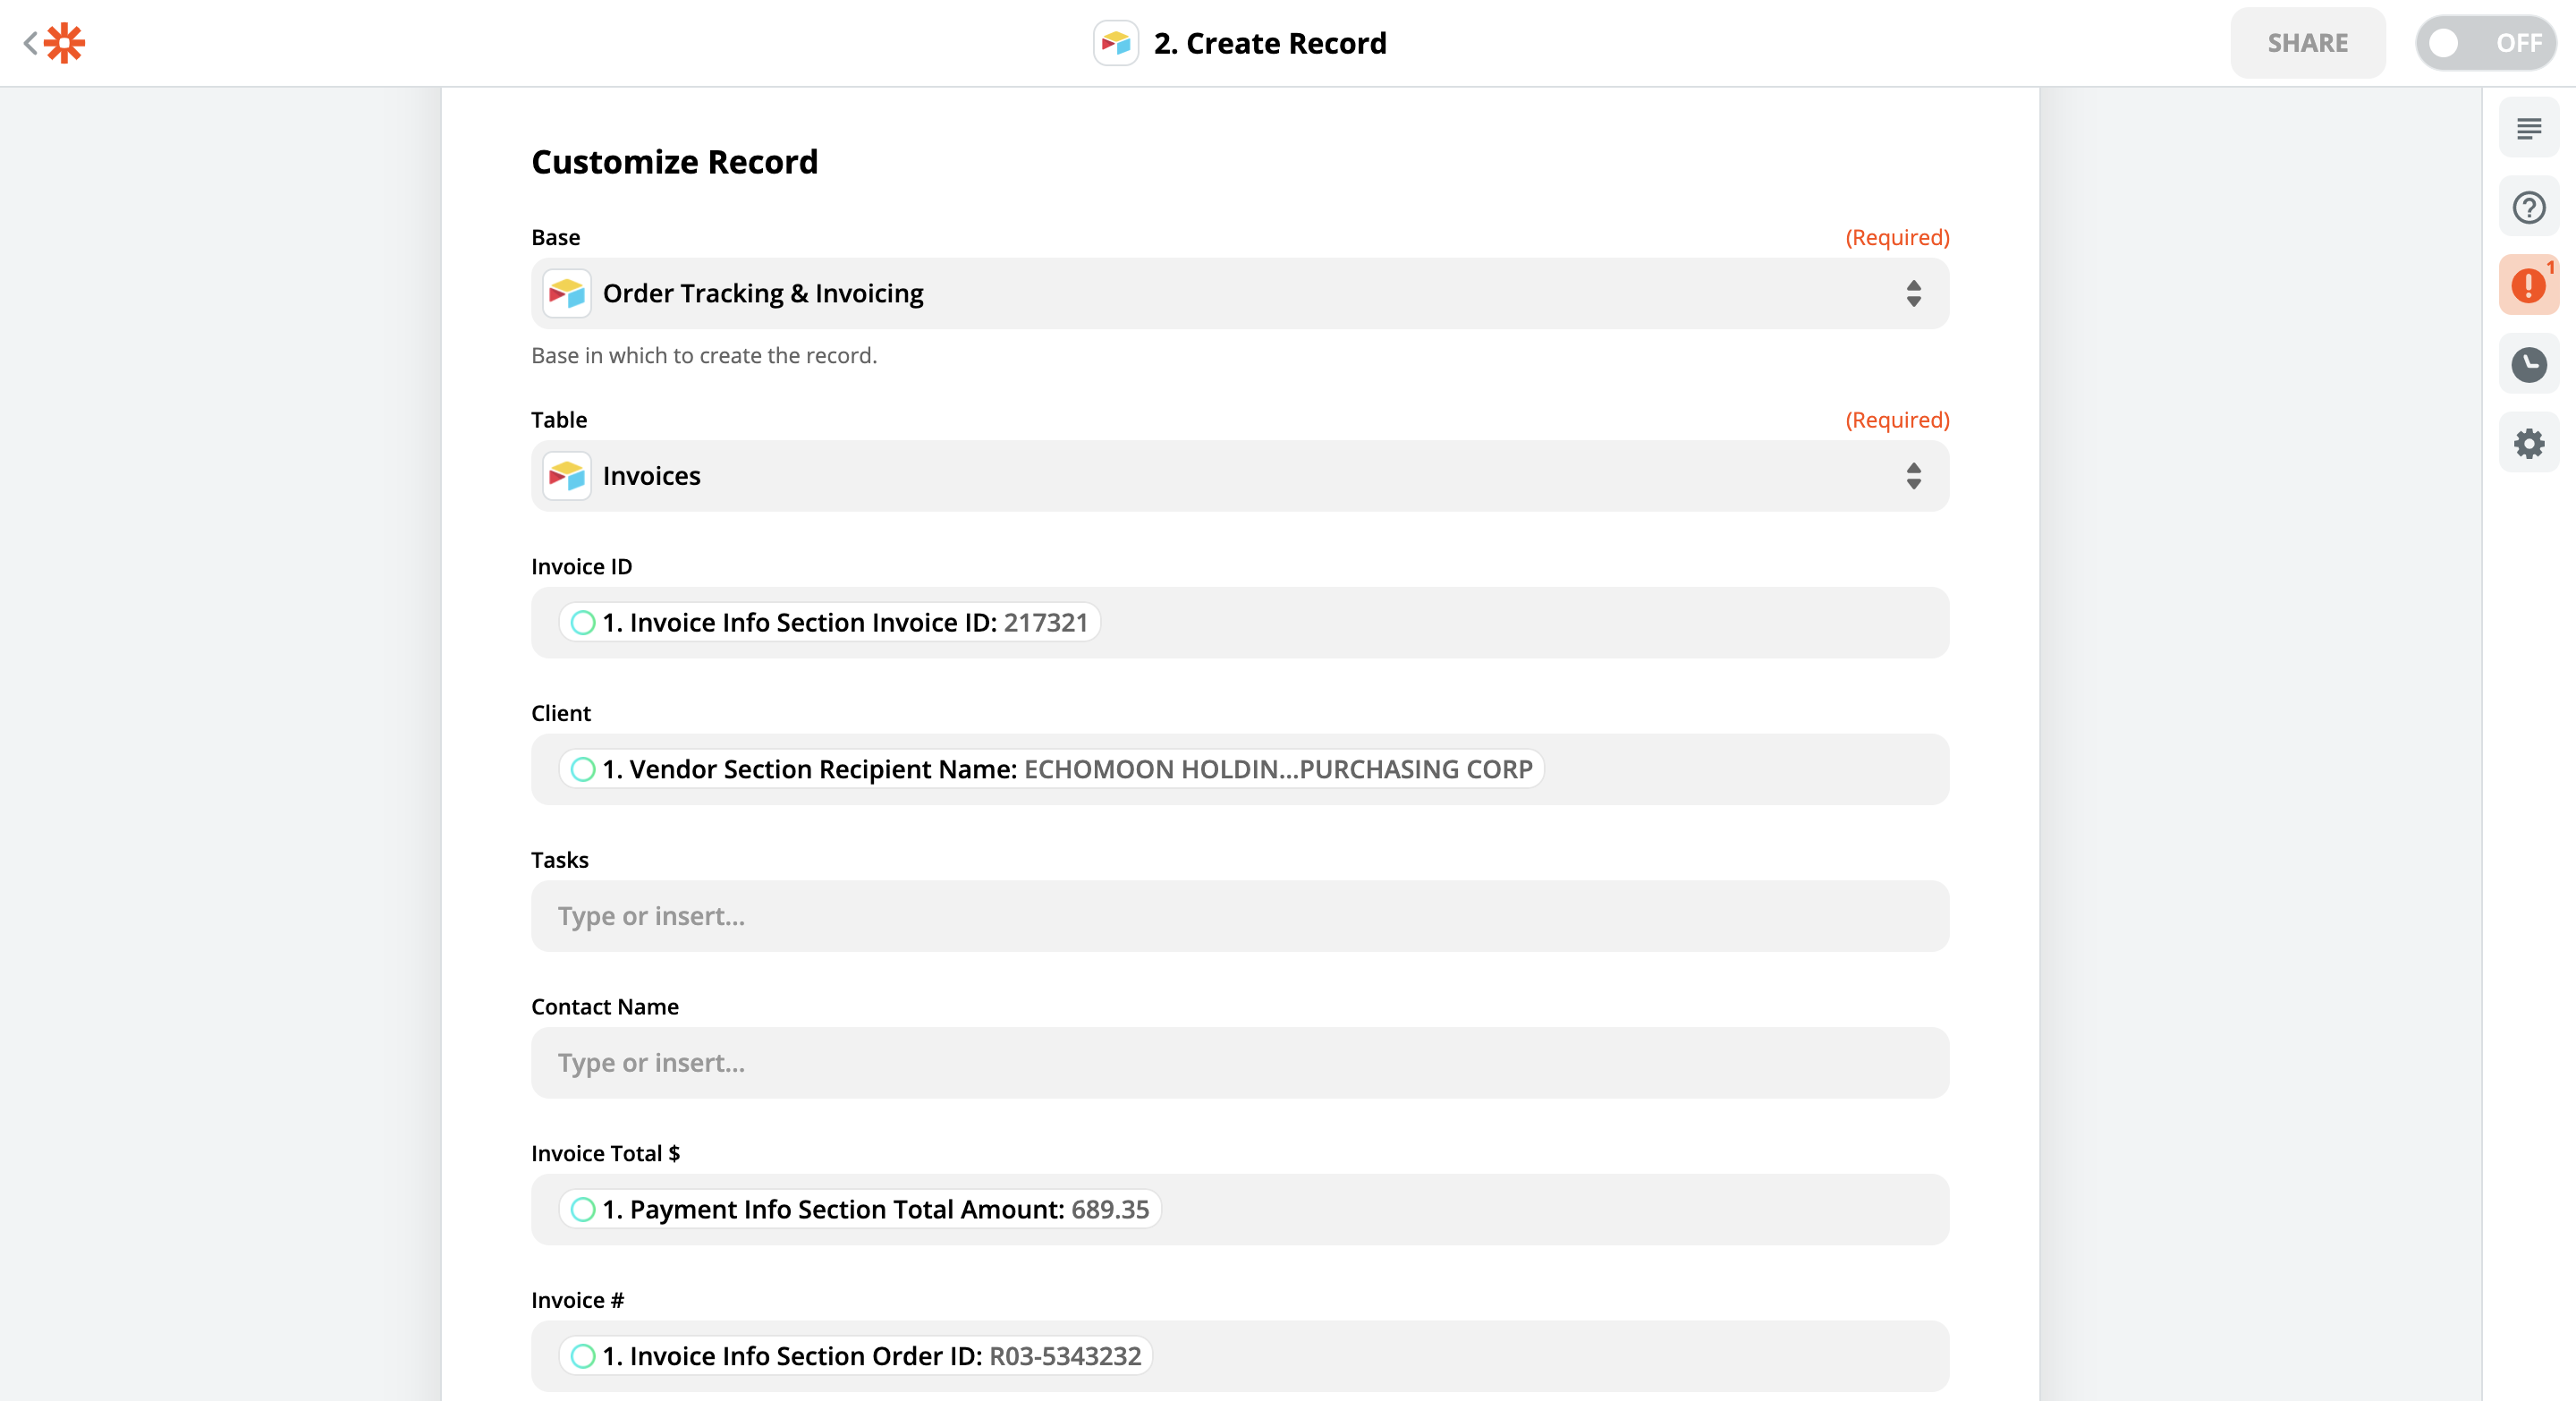
The customization step is different for every app. Since we're creating an invoice in Airtable, we select base (which we first created in Airtable from "Order Tracking & Invoicing" template), a table and then we map Rossum fields defined in the Schema to their corresponding fields in the form.
Mapping captured fieldsThis mapping from our Rossum schema to the Airtable fields of a record is the reason why we made the output of Rossum trigger be raw data instead of a file.
Step 5: Test the "Create a Record" action
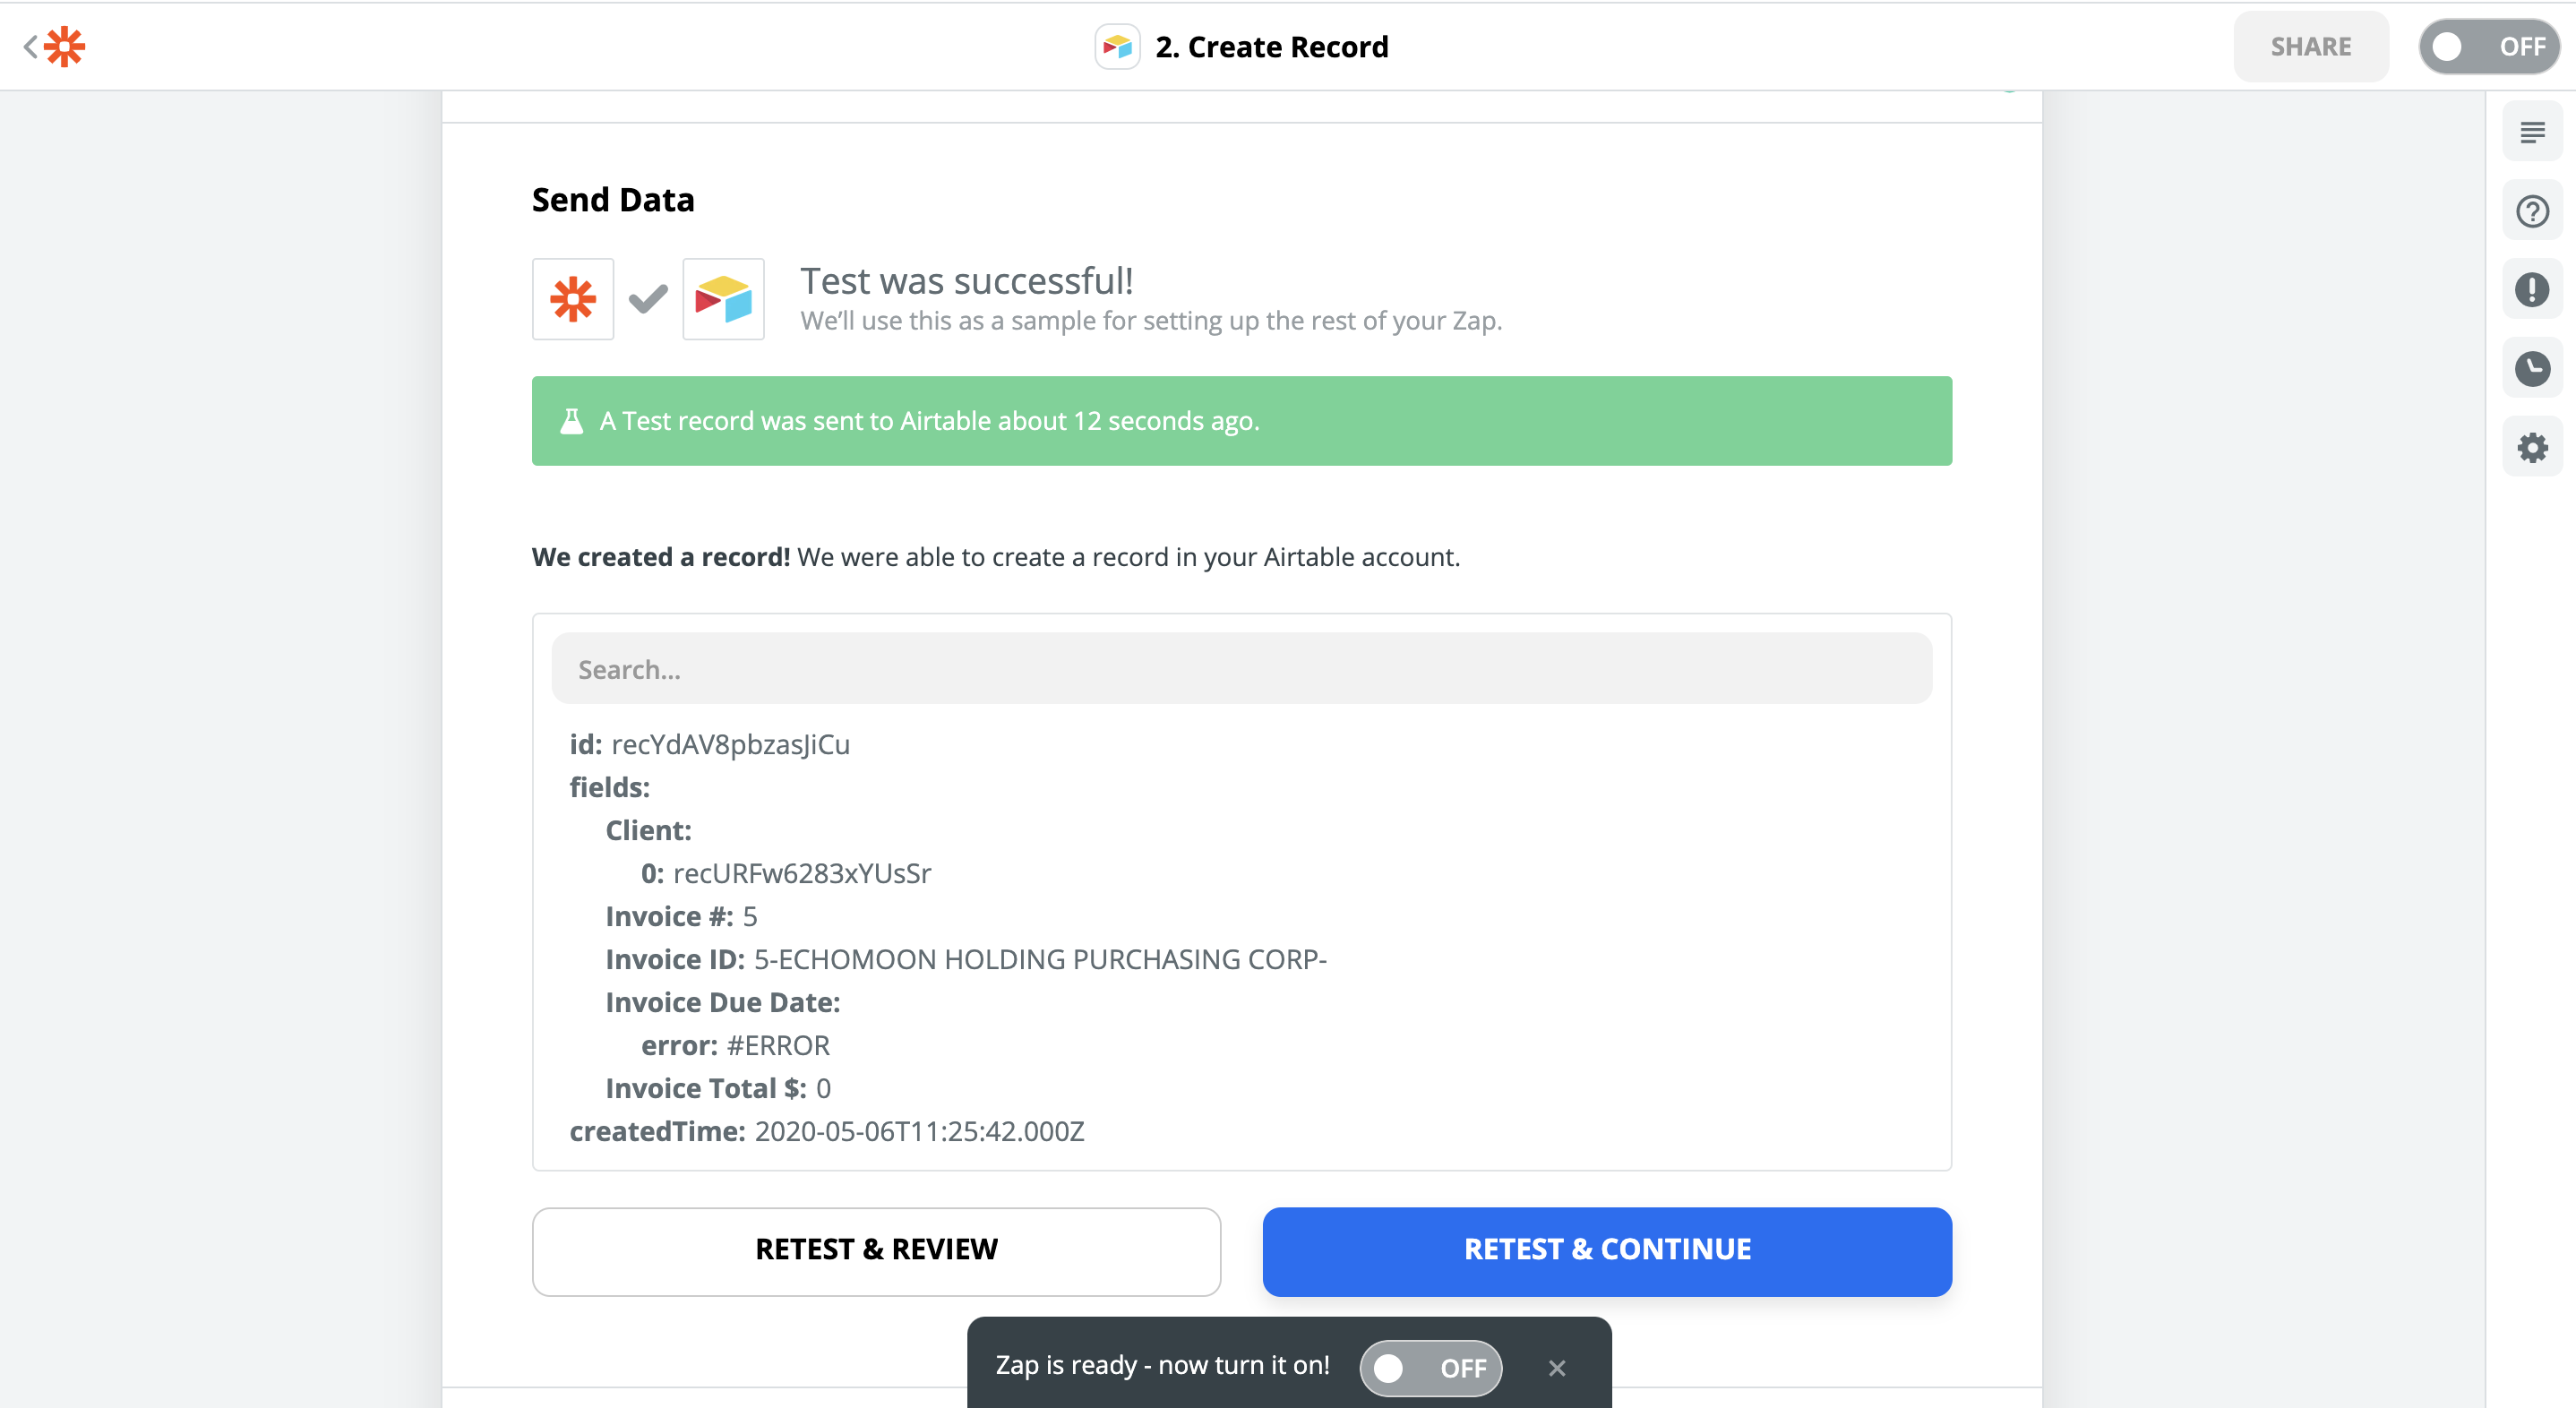
And as always, the last step is testing. Running the test will actually create a new record in Airtable. You can check that's true in Airtable.
You can add another action from any app in the next step of this Zap to create even more elaborate pipelines. However, this is where this guide ends.
Step 6: Victory
And that's it! All we have to do is to turn this Zap on and sit back as the data captured by Rossum fills your Airtables.

Rossum triggers are InstantUnlike many other apps, Rossum triggers in Zapier are "Instant". That means there will be no delay between the document export in Rossum, and this Zap running in its entirety.
Updated 7 months ago
Check out other Rossum events in Zapier: