Batch Export of Documents from Rossum Using Zapier
This guide will help you set up a Zap, which will batch export all of your documents, in a given queue, that are in state "confirmed".
Requirements for this Event
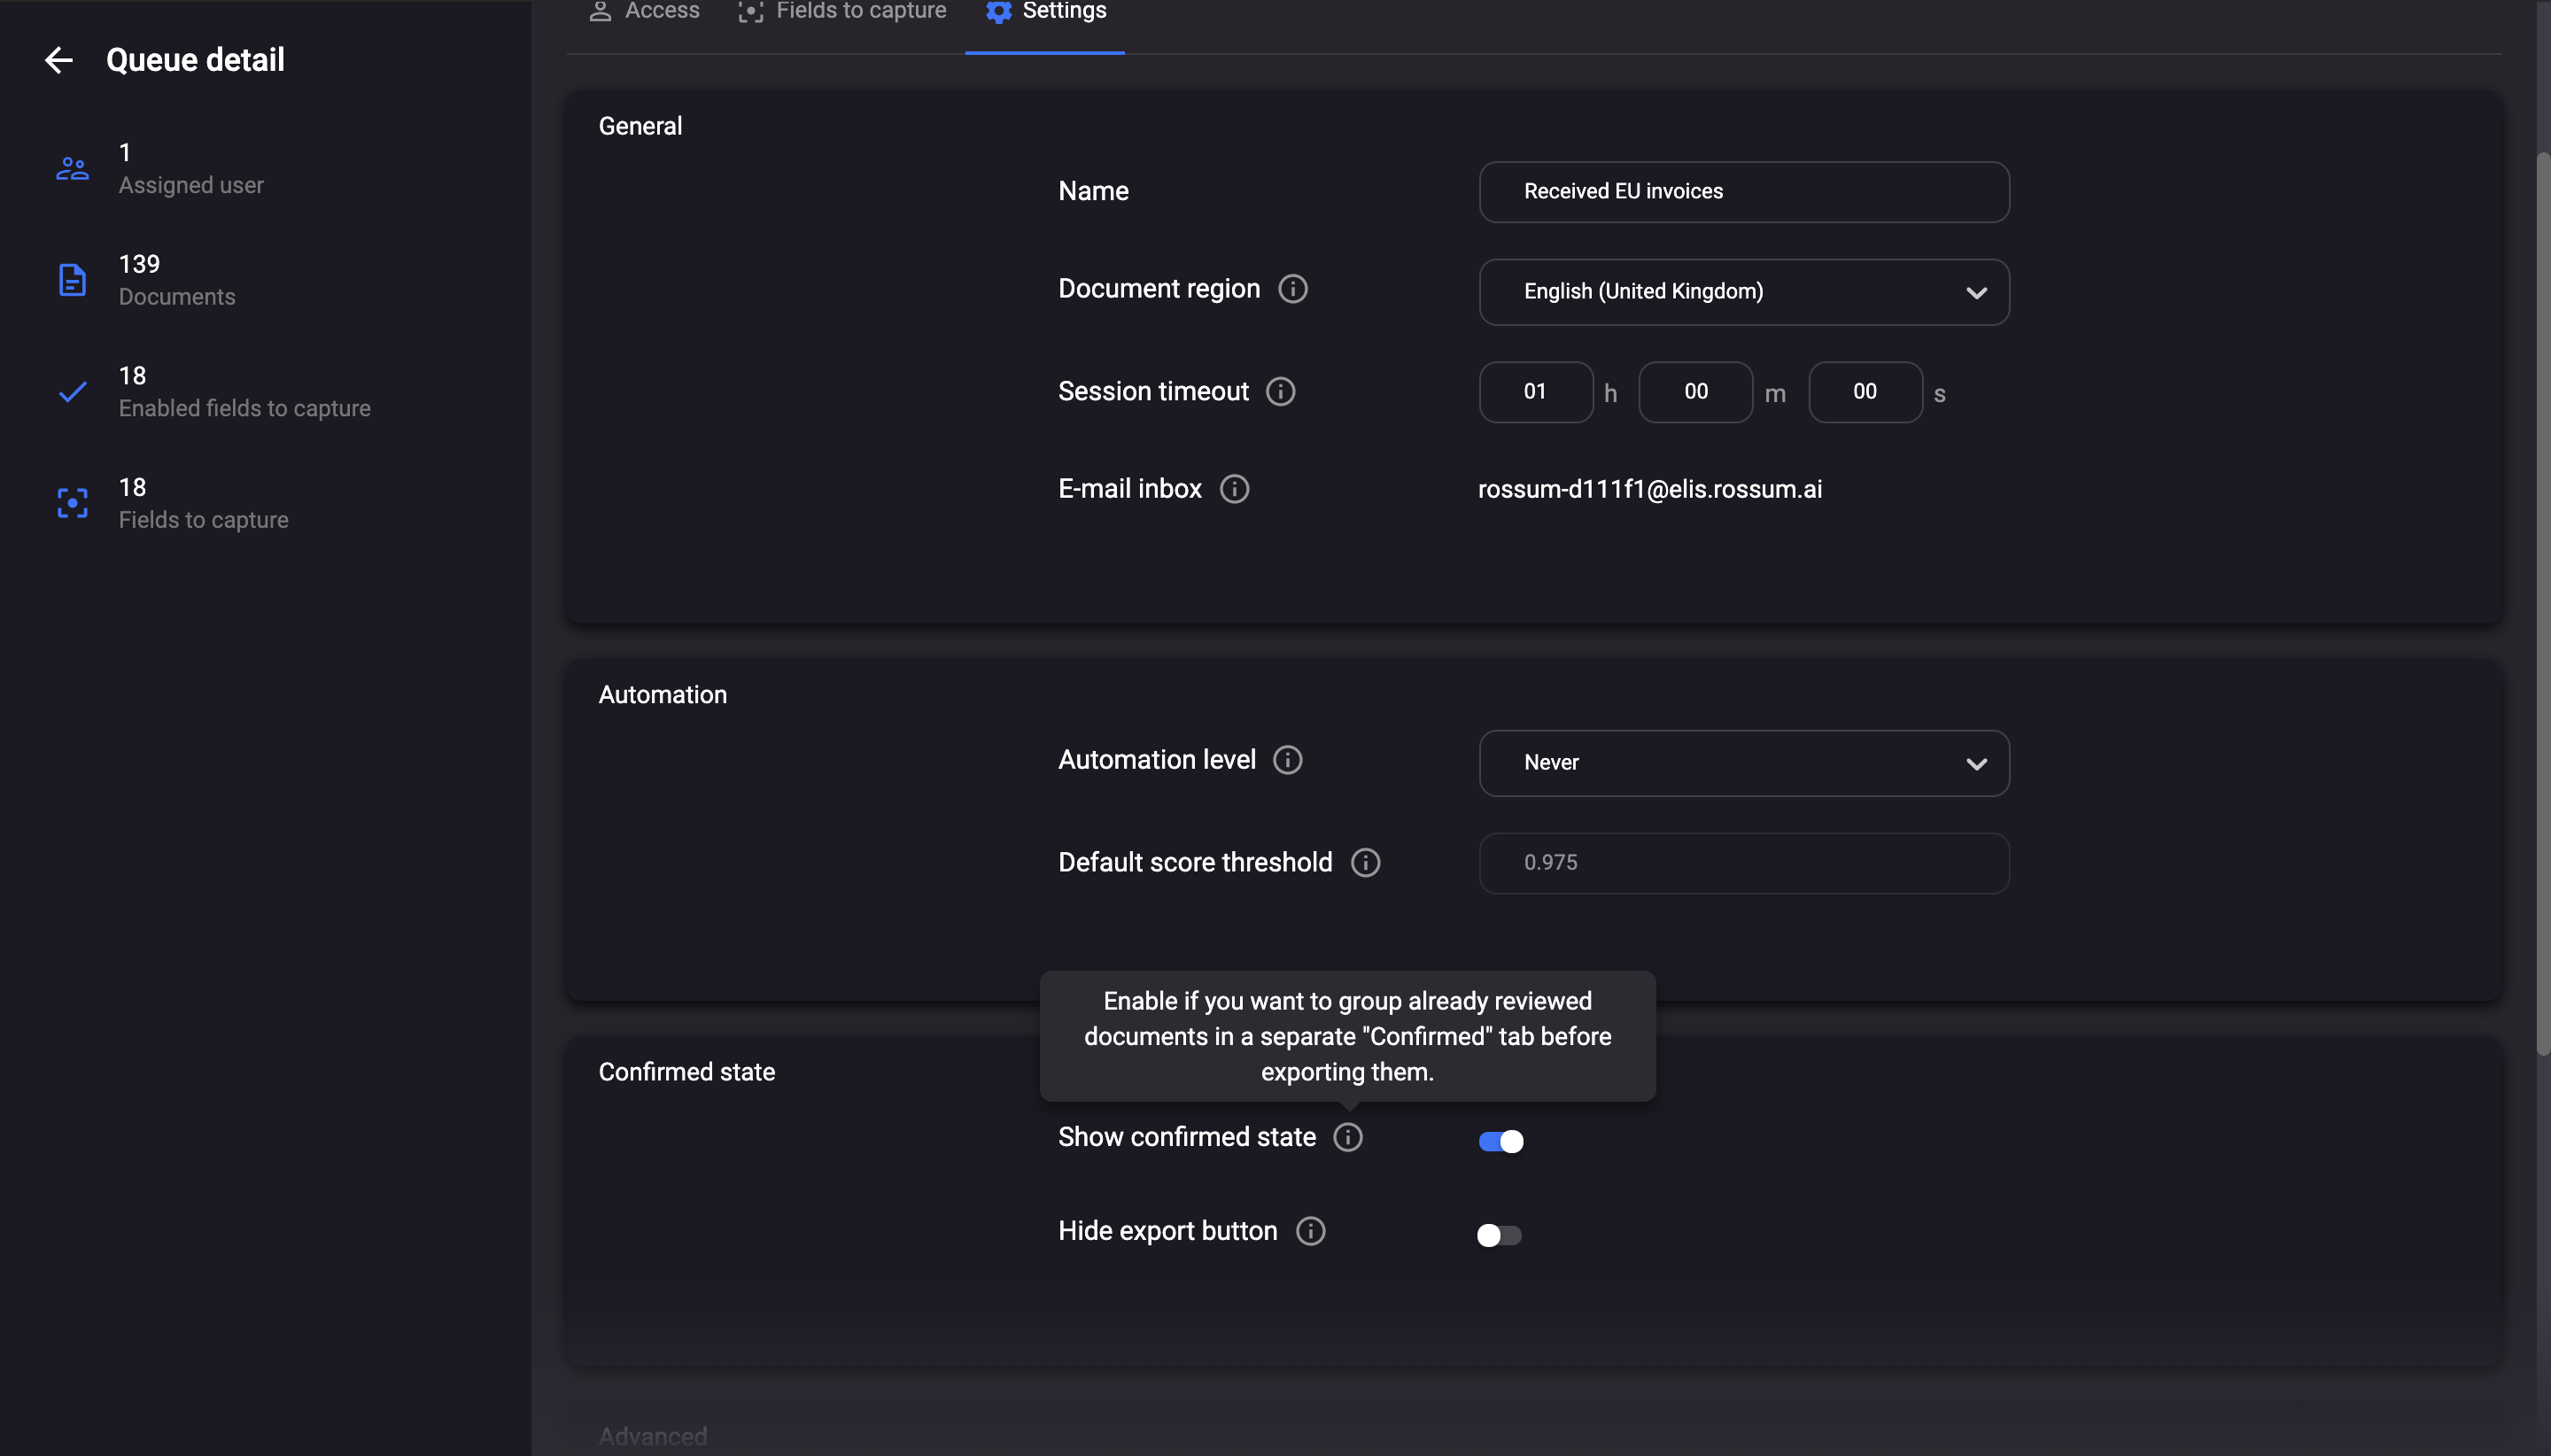
- The queue from which you will be exporting, has to have "Use confirmed state" set to True.
- You need to have a second Zap, using Export Document Trigger. This is required as this action does not output any data. It only changes the status of "confirmed" documents to "exported".
The most common use-case of batch export is to have it triggered in some scheduled interval. That's why we'll use Schedule by Zapier in this example. Feel free to use any other available scheduler, or even any other app to trigger this Zap.
Step 1: Set up a Trigger
Setting up Schedule by Zapier is a very straight forward process. That's why we skip it in this guide. If you want to learn more about Schedule by Zapier, there's a great tutorial from Zapier here.
For purposes of this guide, we set the interval to be "Each Monday at Midnight".
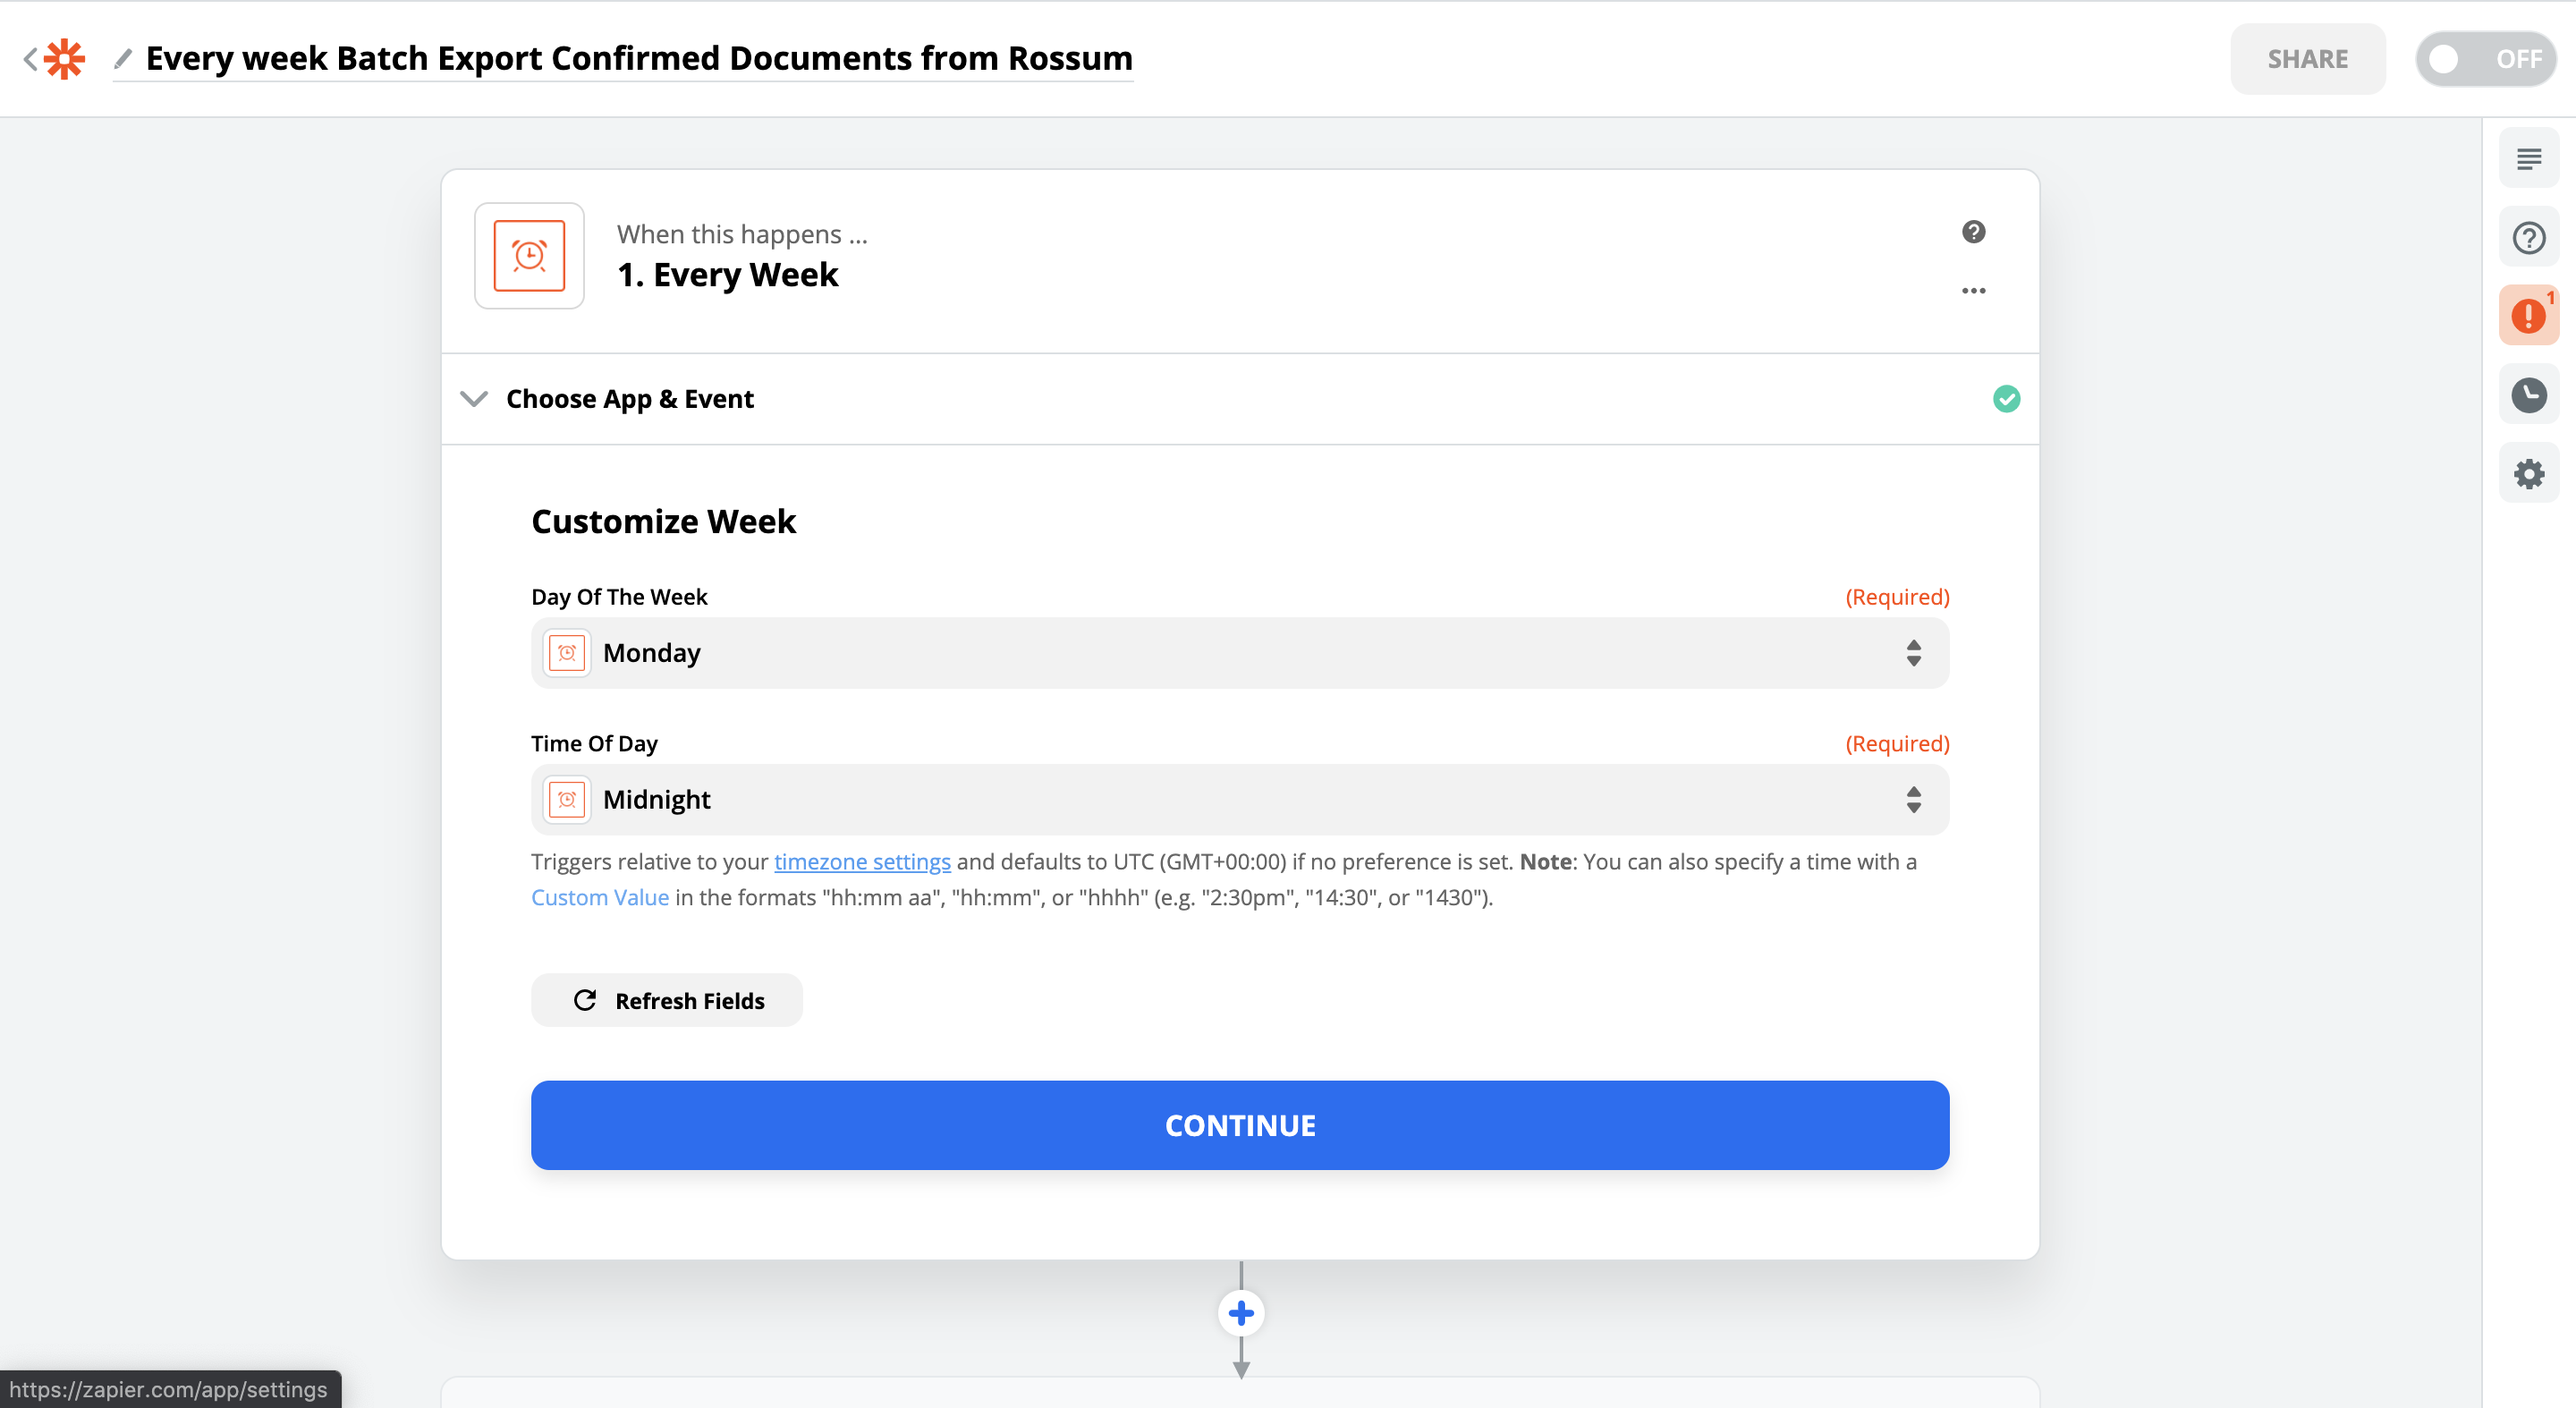
Step 2: Set up "Export Confirmed Documents" action
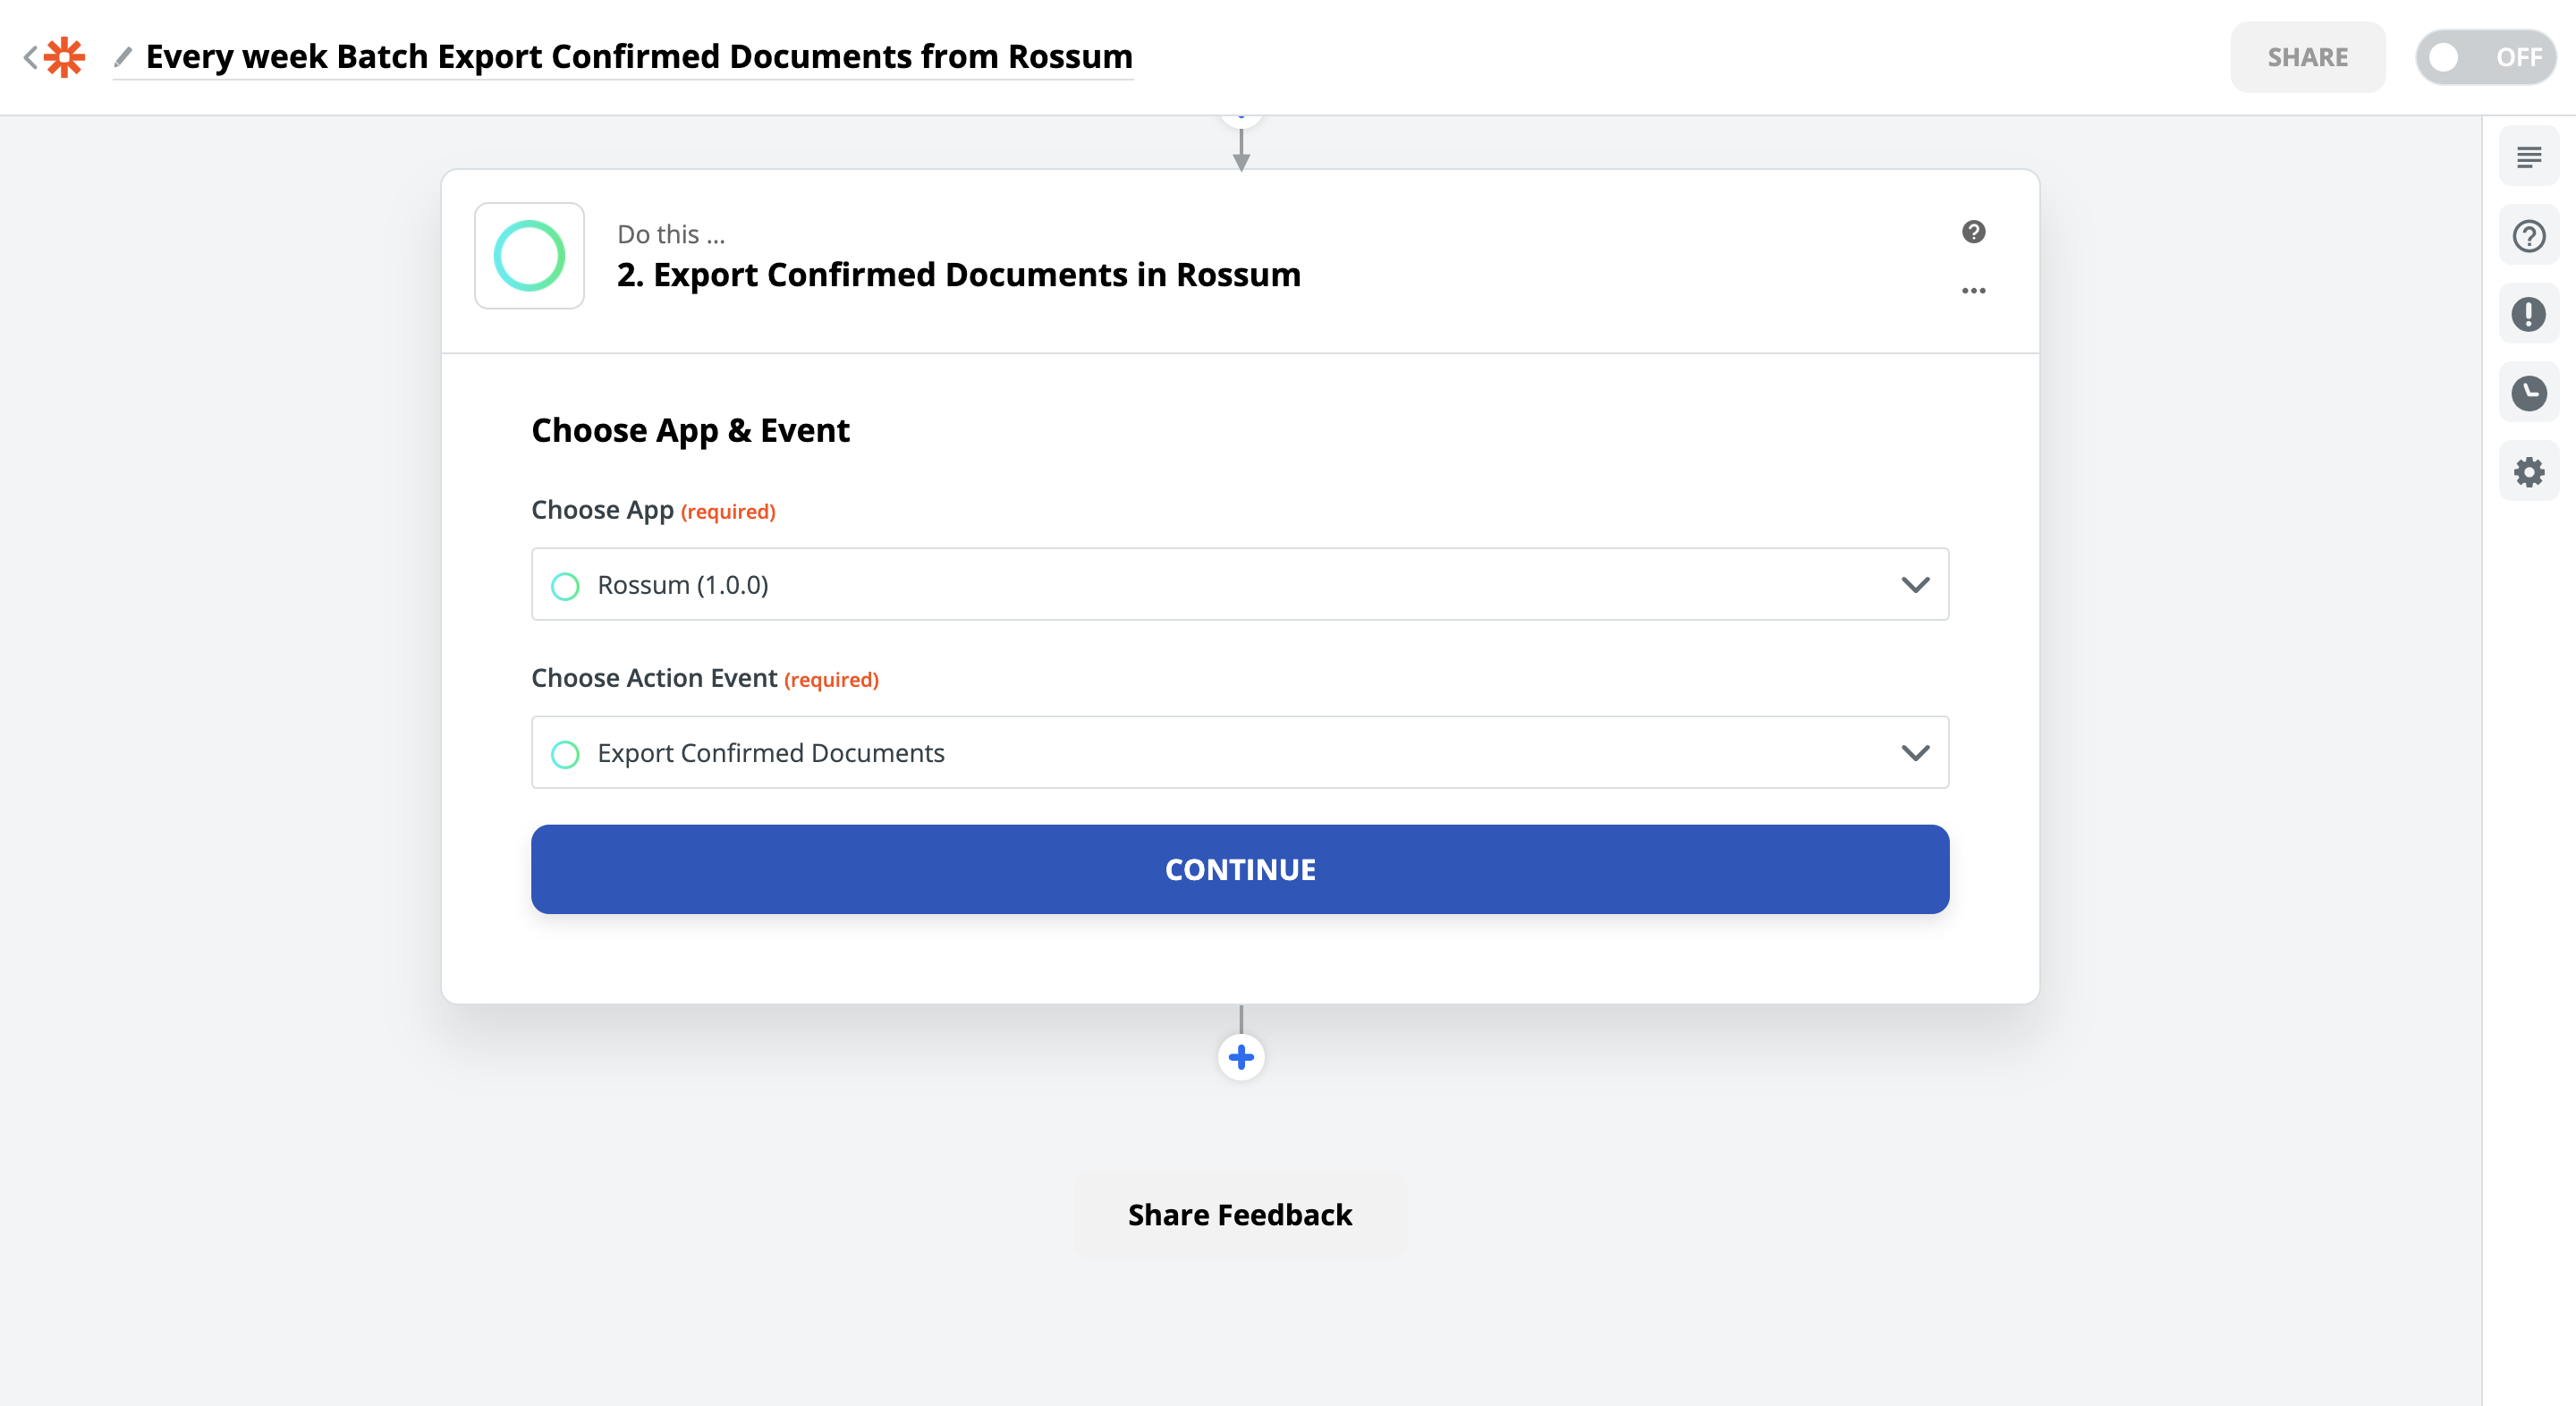
First, we select Rossum app and its "Export Confirmed Documents" Action Event.
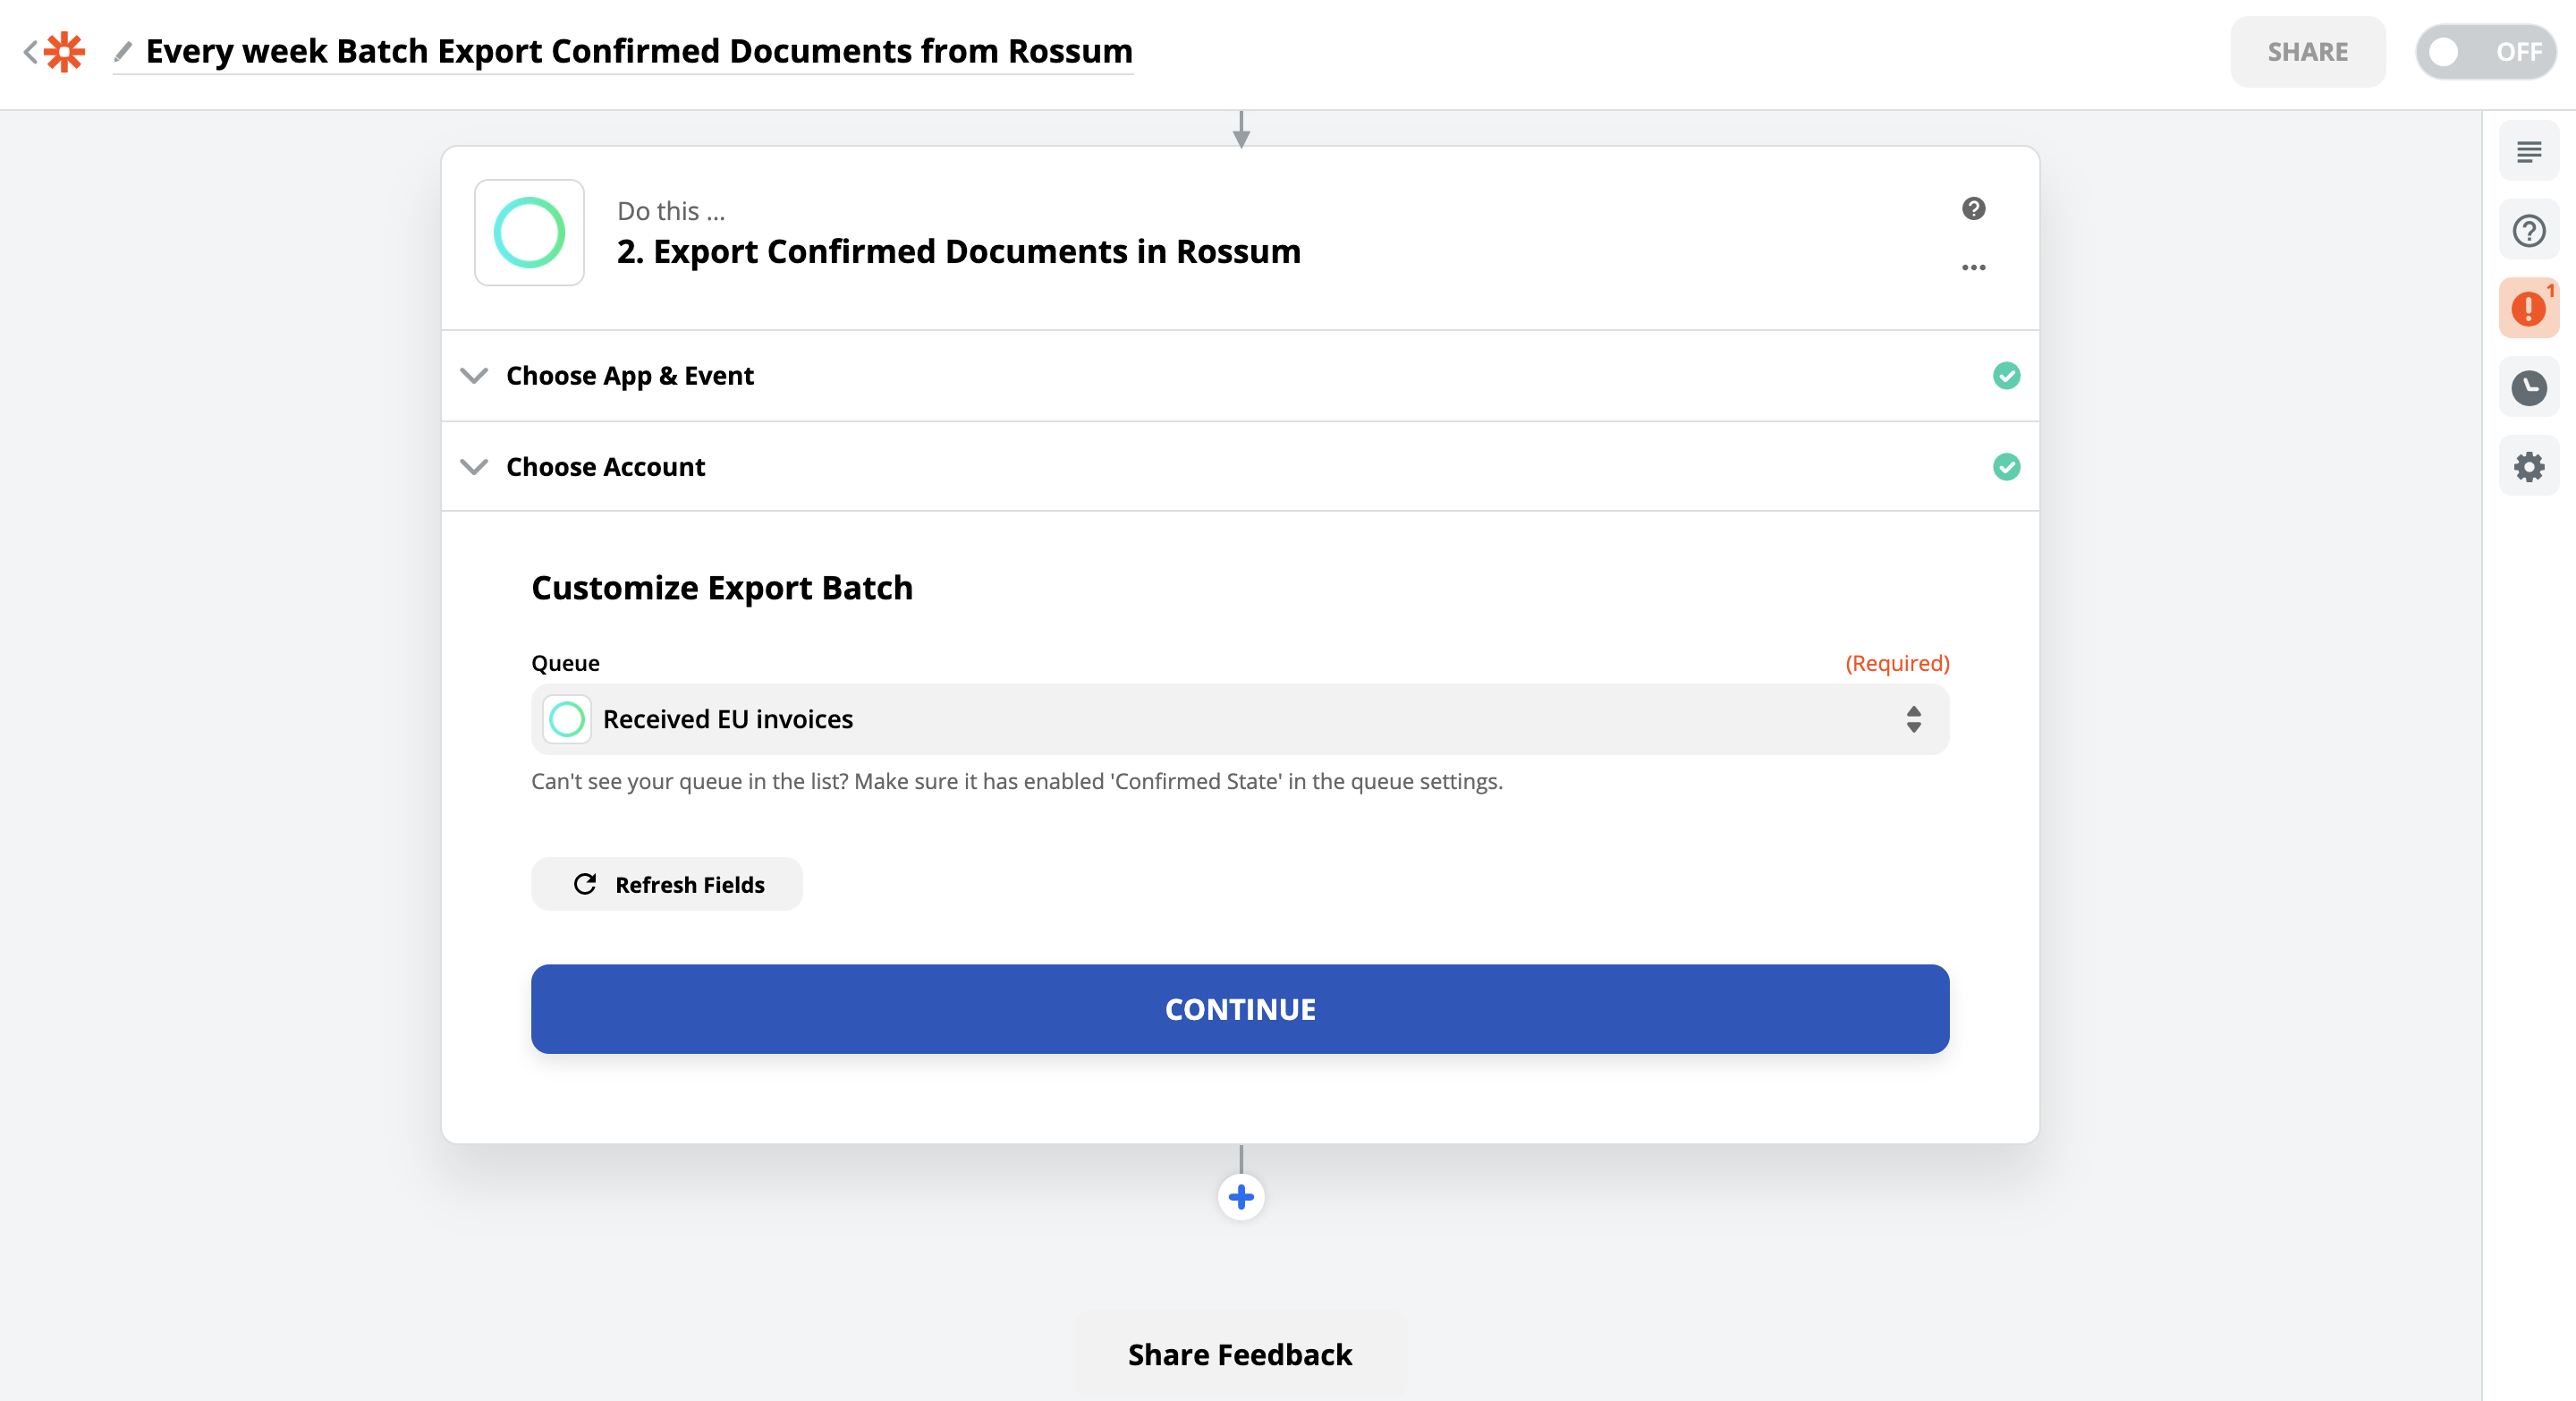
Then, we select the queue we want to export data from.
If your dropdown list of queues is empty, make sure your Queue has "Use confirmed state" set to True. You can set this up in the Queue settings in the Rossum app. (Only Admins can access this setting, so make sure your account has the required permission).
If you're not sure, whether "Confirmed State" is a good match for your workflow, read this article "Batch Export With Confirmed Tab"
Step 3: Test the "Export Confirmed Documents" action
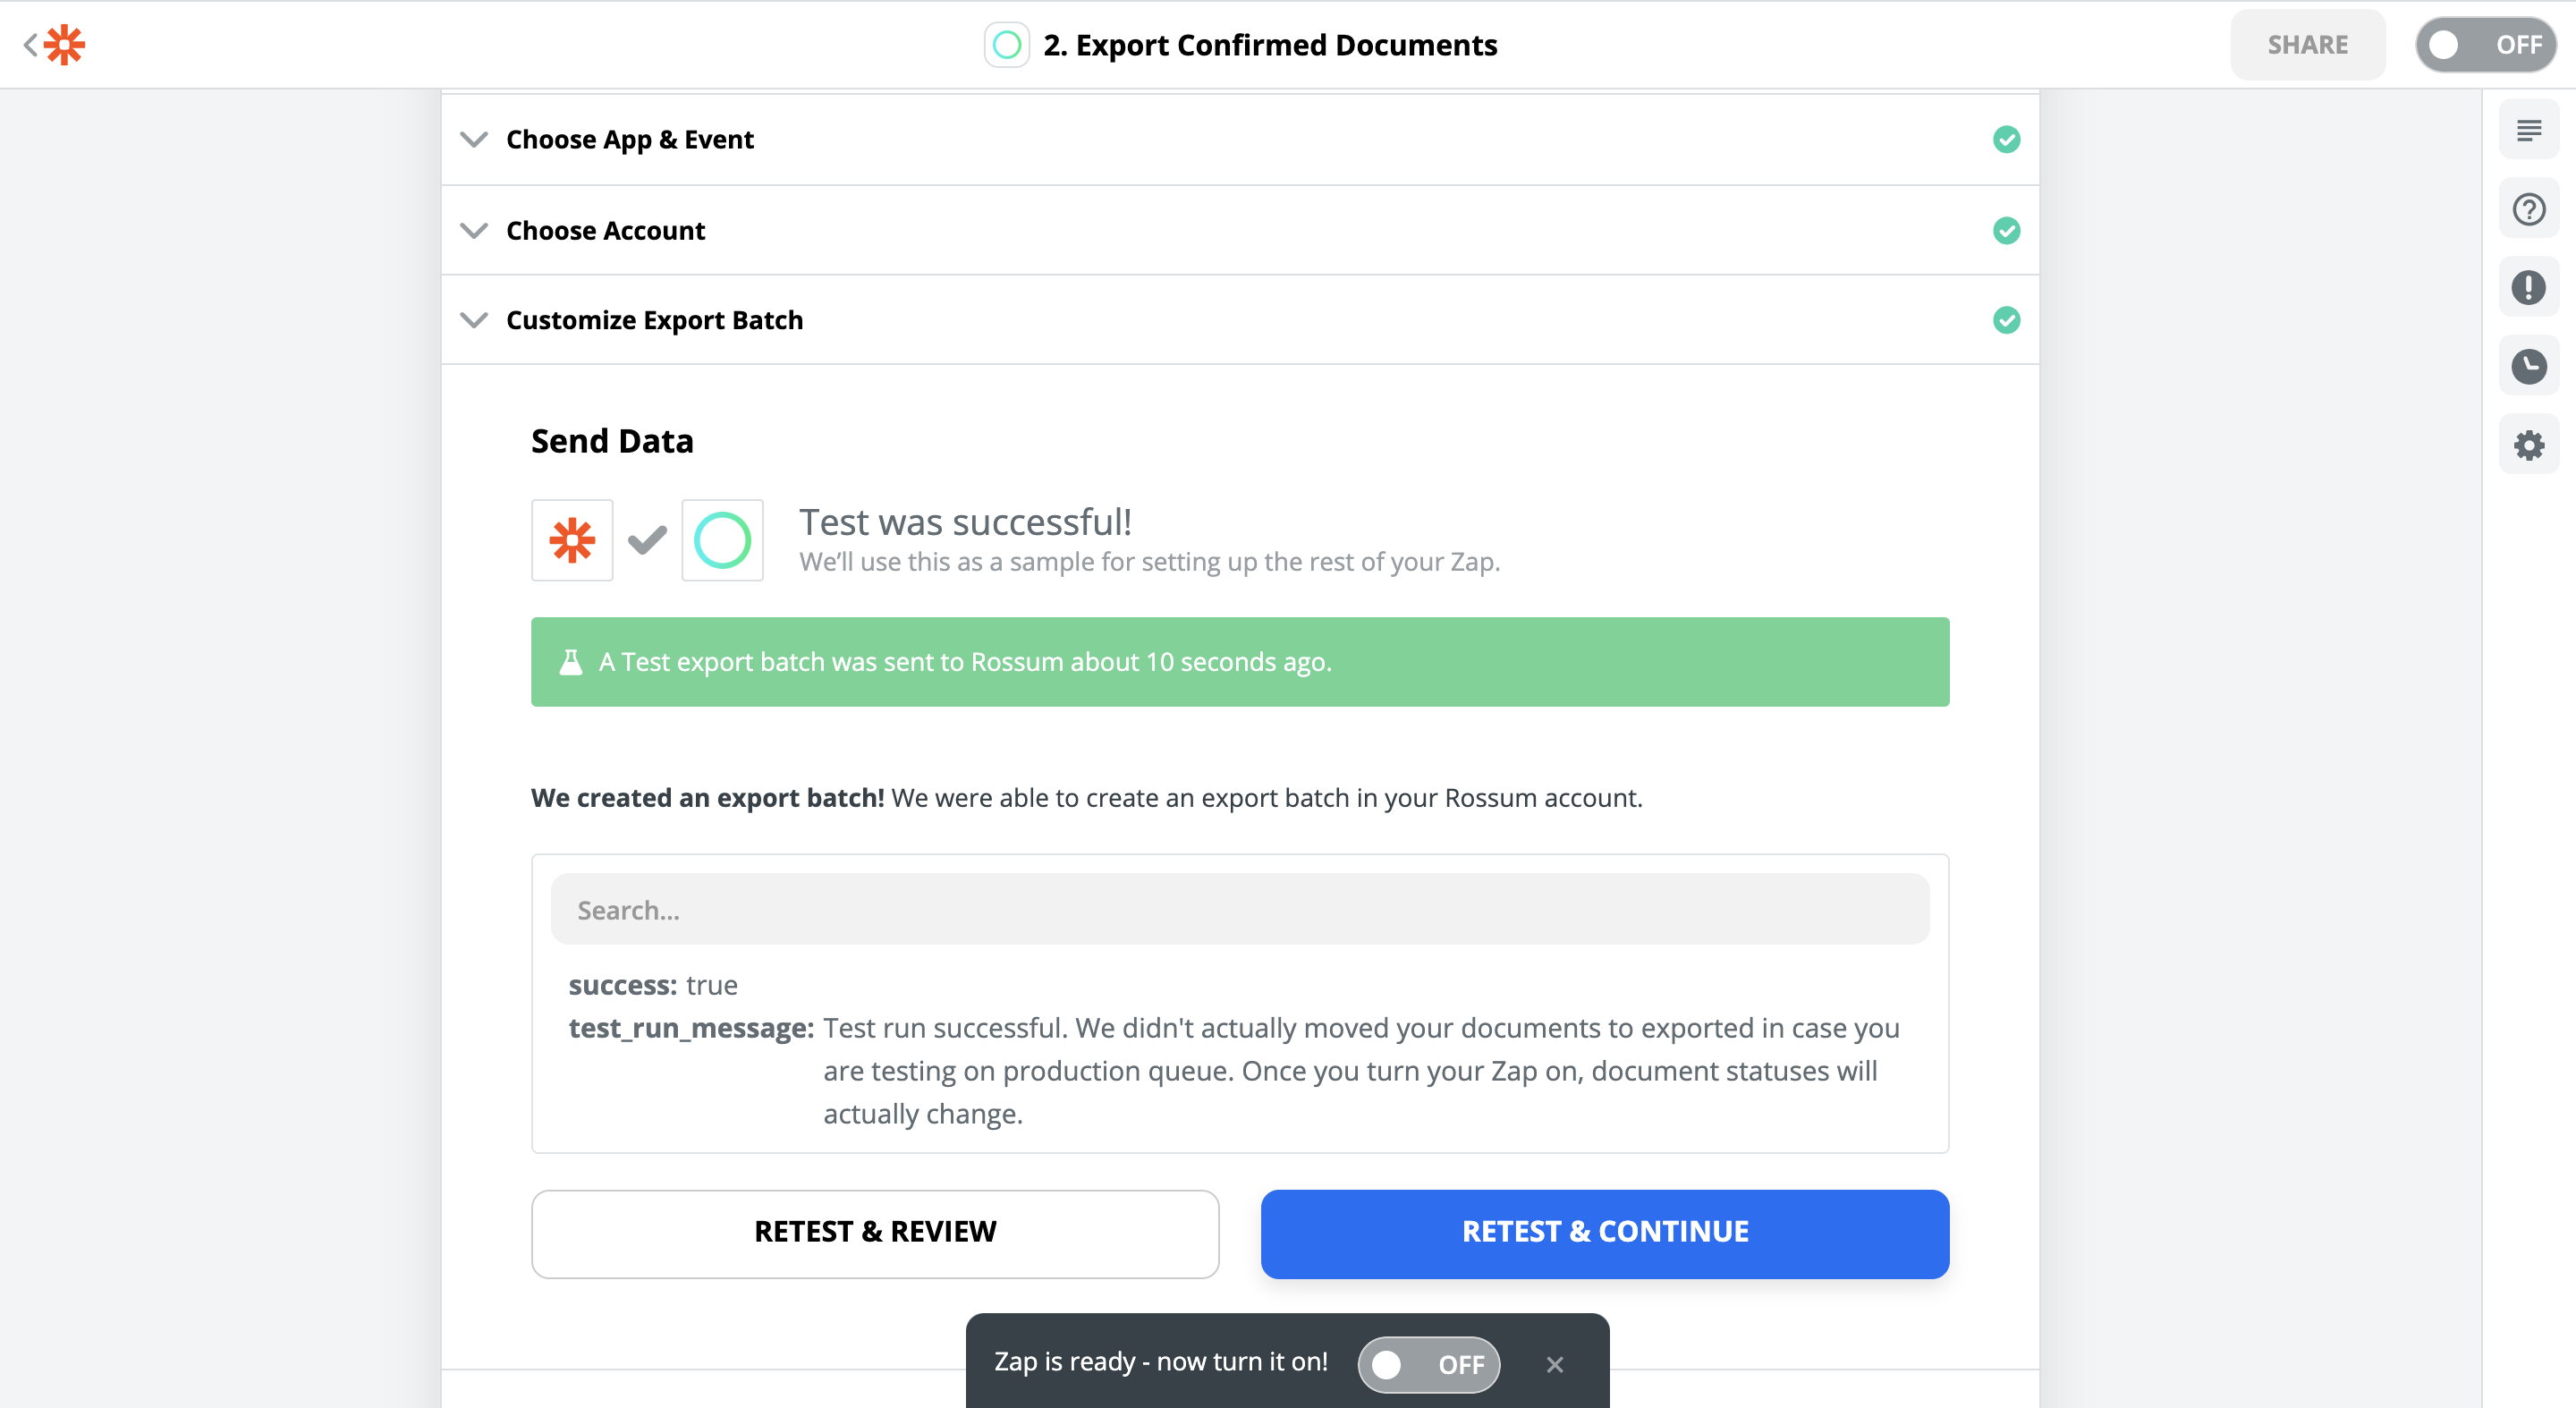
A quick round of testing makes sure, everything will work once you turn your Zap on. The result is pretty irrelevant here, as the actual data will be exported via your Export a Document Zap.
The test_run_message here is only present when we're testing the Zap. It's there to inform you that no documents will be actually exported during the test run. We wanted to avoid making some irreversible actions on your account, during the setup of this Zap.
Step 4: Victory
Now all that's left is to turn this Zap on and wait for the next tick of Schedulers' interval. Naturally, you can add more steps to this Zap. An email can be dispatched informing your team of the new batch for example. That is however out of the scope of this guide.
Enjoy your integration and in case you have an idea or a suggestion regarding Rossum presence in the Zapier platform, let's talk about that in the Developer Hub forum.
Updated 7 months ago
Check out other Rossum events in Zapier: